BloodHound is an Active Directory data visualization application that helps penetration testers to efficiently identify the attack path to gain control over a Windows Active Directory domain and forest. In addition, it helps with identifying the misconfigurations and relationships that could be exploited by threat actors. Furthermore, BloodHound uses graph theory to reveal hidden relationships within an Active Directory environment, thus making it easier for penetration testers to visualize privilege escalation paths.
Overall, the data in Active Directory must be collected from the organization using a collector such as BloodHound-Python, SharpHound, or AzureHound. Once the data has been collected, it has to be processed by BloodHound, which provides the attack path to domain takeover within an organization.
The following is a breakdown for each type of collector used by BloodHound:
SharpHoundis the most commonly used data collector for BloodHound, designed to collect data fromon-prem AD environments.BloodHound-Pythonis an alternative to SharpHound for collecting similar types of data and is most suitable when executing.NET binariesis restricted or monitored.AzureHoundis designed to collect data from Azure AD(now MS Entra), allowing BloodHound to analyze and visualize attack paths in cloud environments.
Bloodhound setup:
- Using docker containers:
- In my case i faced an issue later on so if you also faced the issue then follow the commands after doing
docket-compose up, remember to restart your system after performing these commands.
- After restarting use the command again
docker-compose up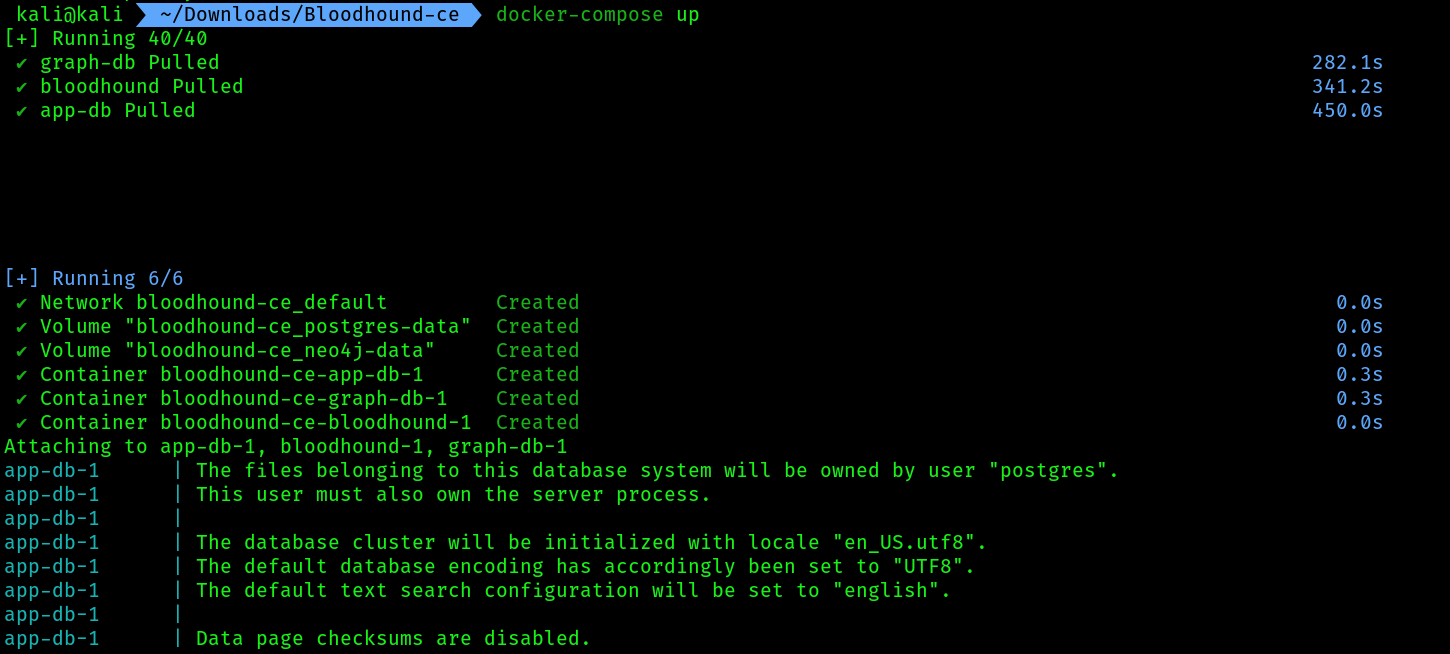
- Make sure your port
8080is not used by any other service, if that’s the case use the following commands to kill the process running on port8080
sudo netstat -tulnp | grep "8080"
sudo kill -9 PID
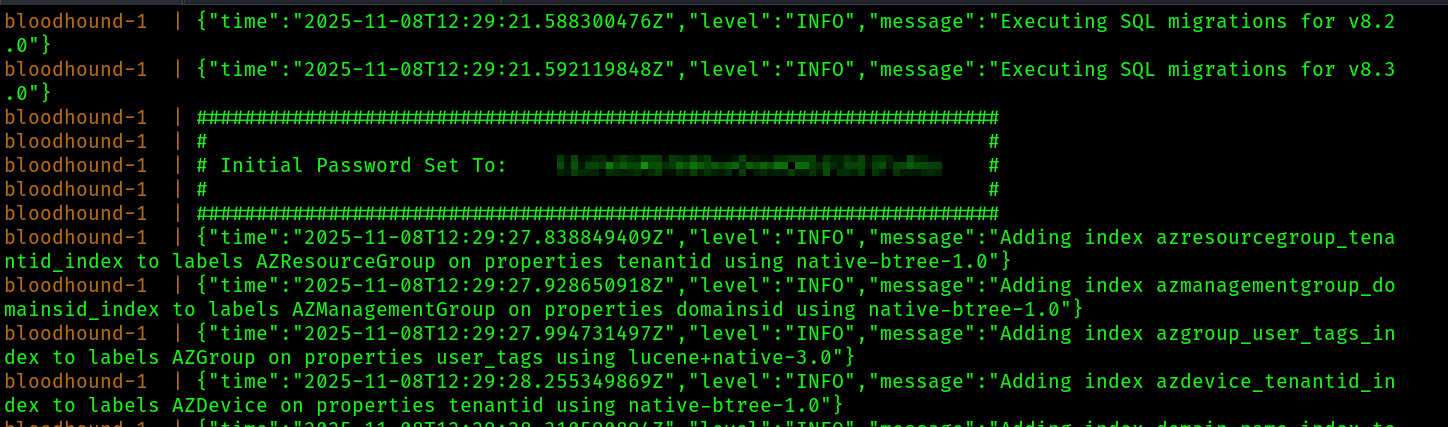
 5. Then again do
 docker-compose up , you should get messages like these:

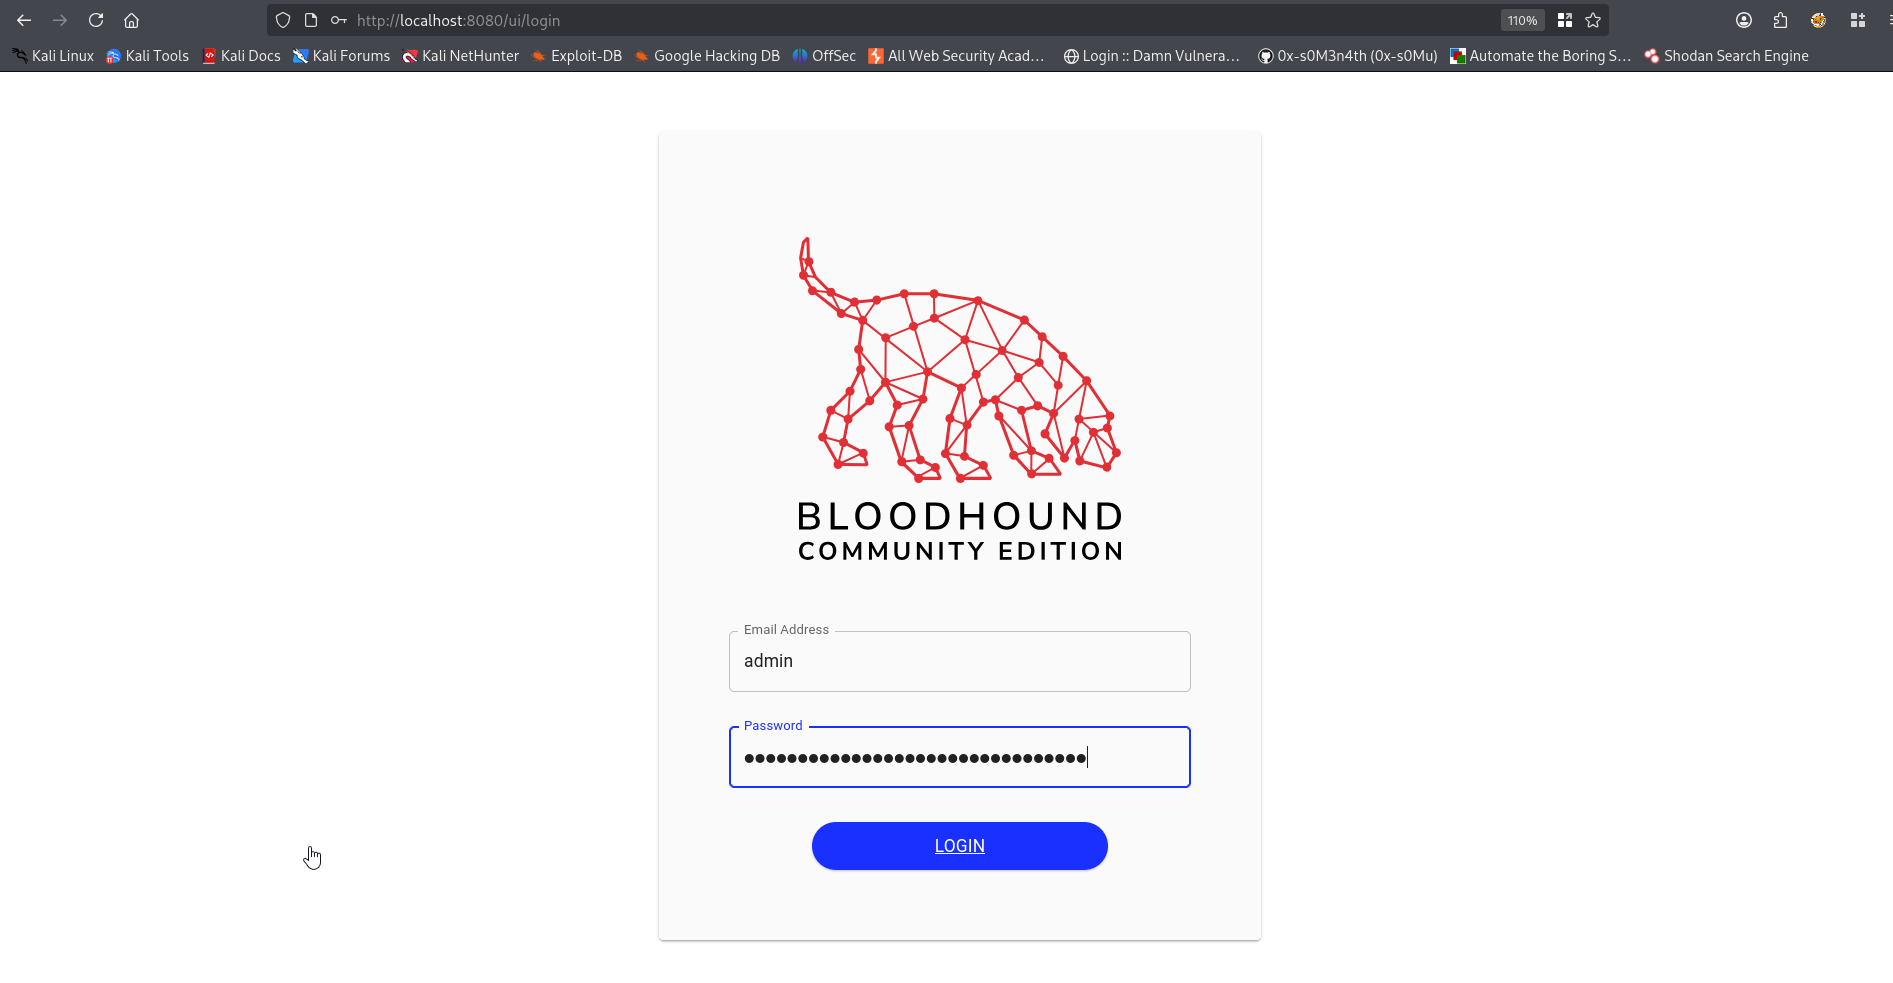
 6. Now head over to
 firefox , search http://127.0.0.1:8080 and this page should come up, enter your credentials:
 7. This upload page should come up first, ignore the background data:
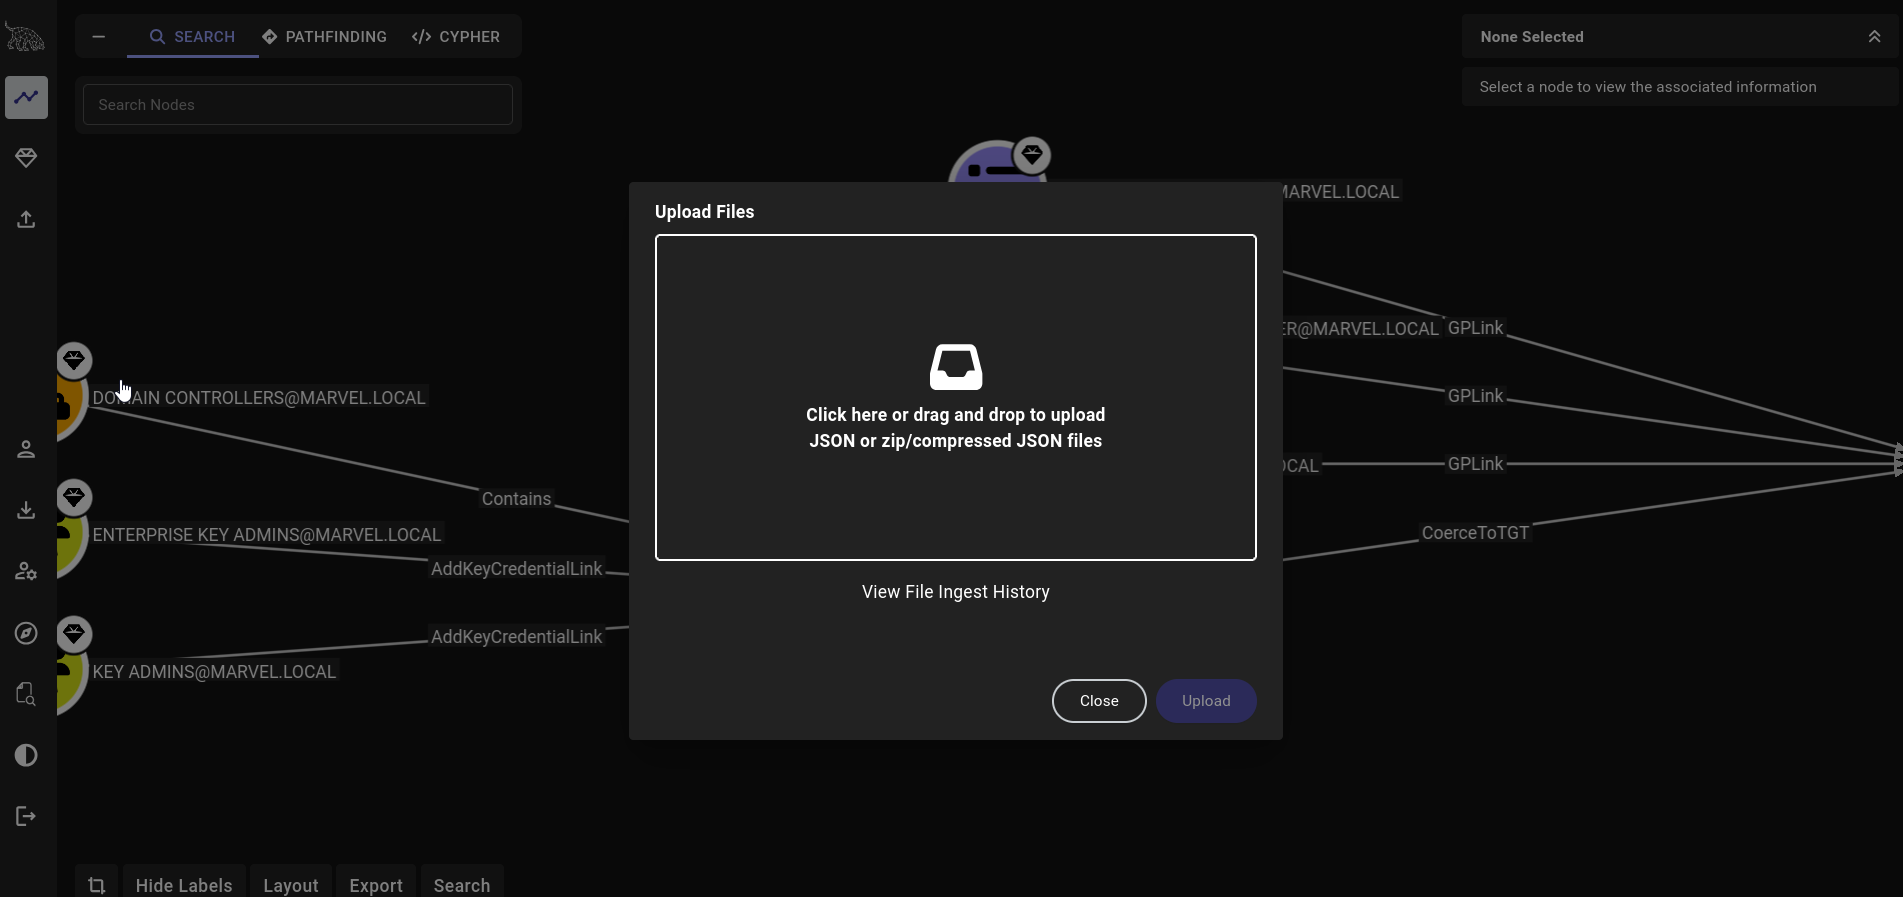 8. We need to ingest our
 Domain controller's data using any compromised domain account into bloodhound, this will map the whole network into a visual graph and many more. To do so we need to install another tool called bloodhound-python to gather that data from DC . Use the following steps:
sudo apt install bloodhound.py
bloodhound-python -d MARVEL.local -u fcastle -p Password1 -ns 10.11.12.128 -c All
COMMAND DETAILS:
-d: Specifies the targeted Active Directory domain.-u: Specifies the username of a valid domain user.-p: Specifies the password for the domain user.-ns: Specifies the name server or IP address of the domain controller.-c: Specifies the collector method.
 9. Now upload all of the
 json files inside bloodhound
10. Then come to the tab Cypher in bloodhound
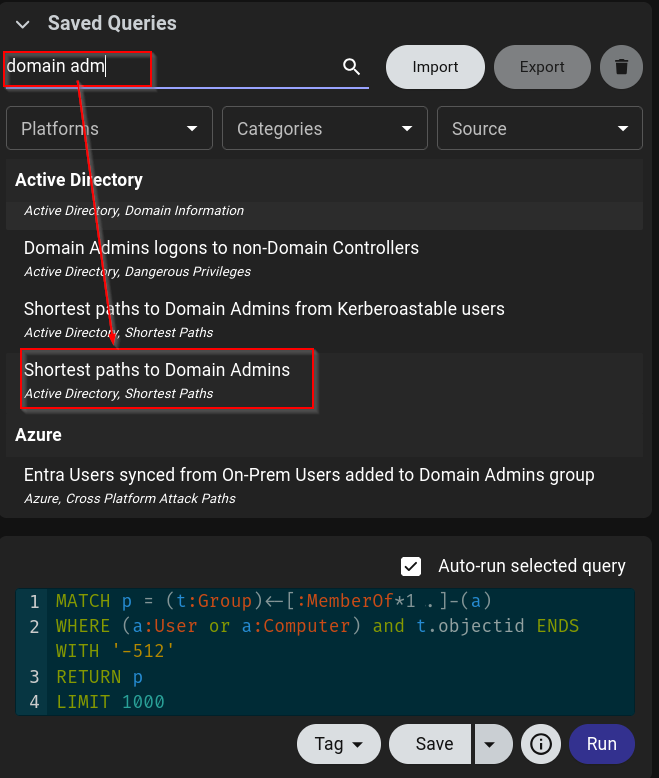
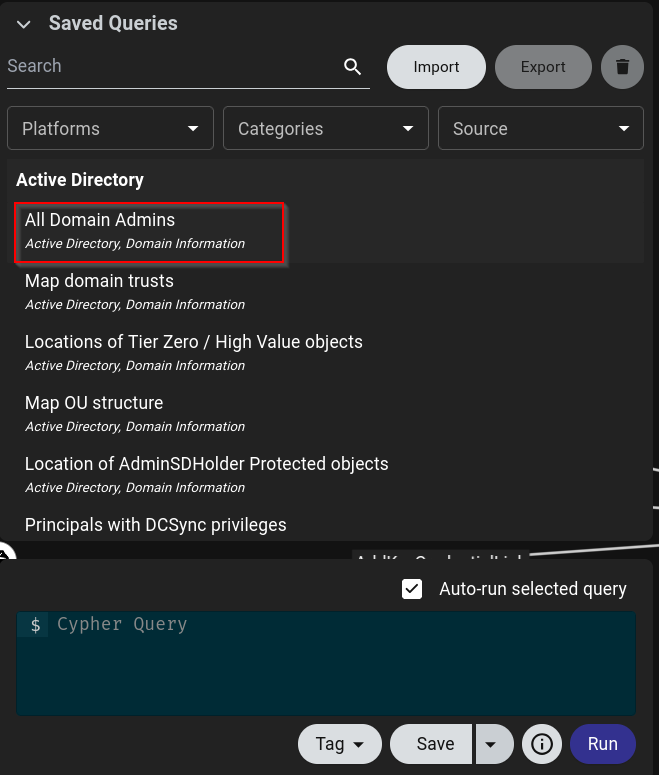
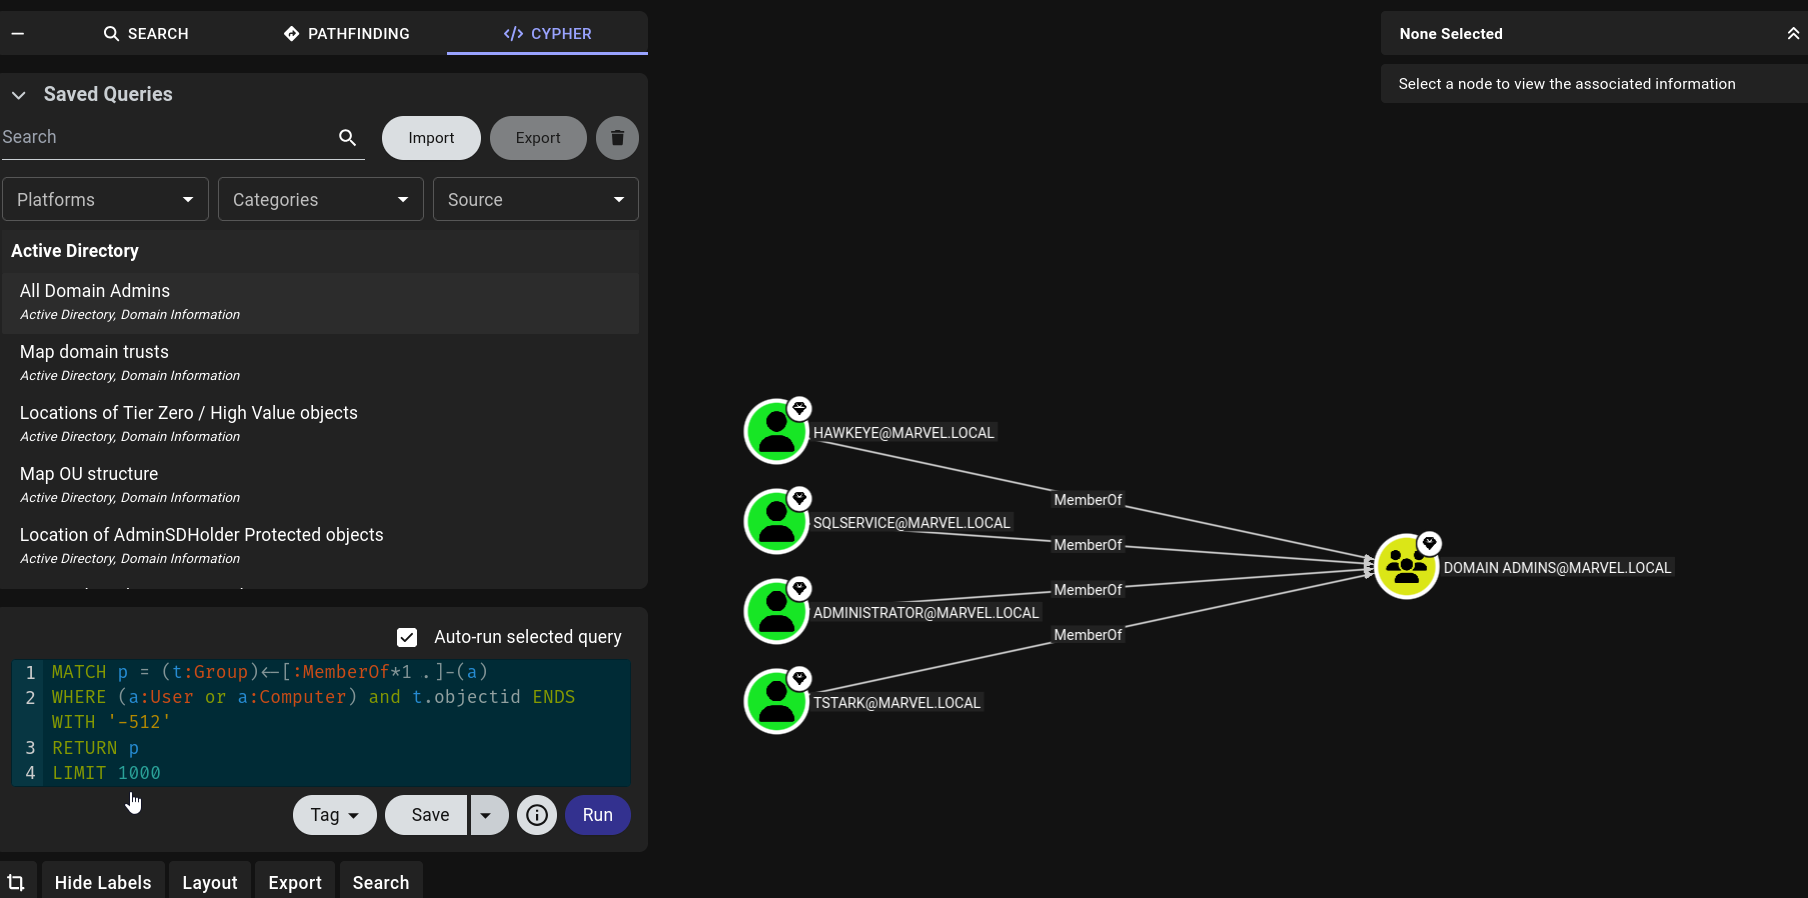
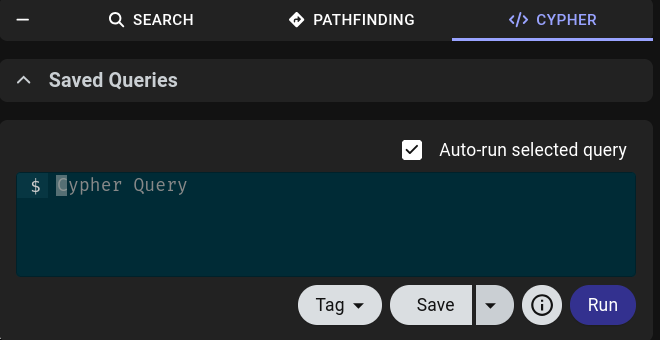 11. Click on
 saved queries , then click all domain admins
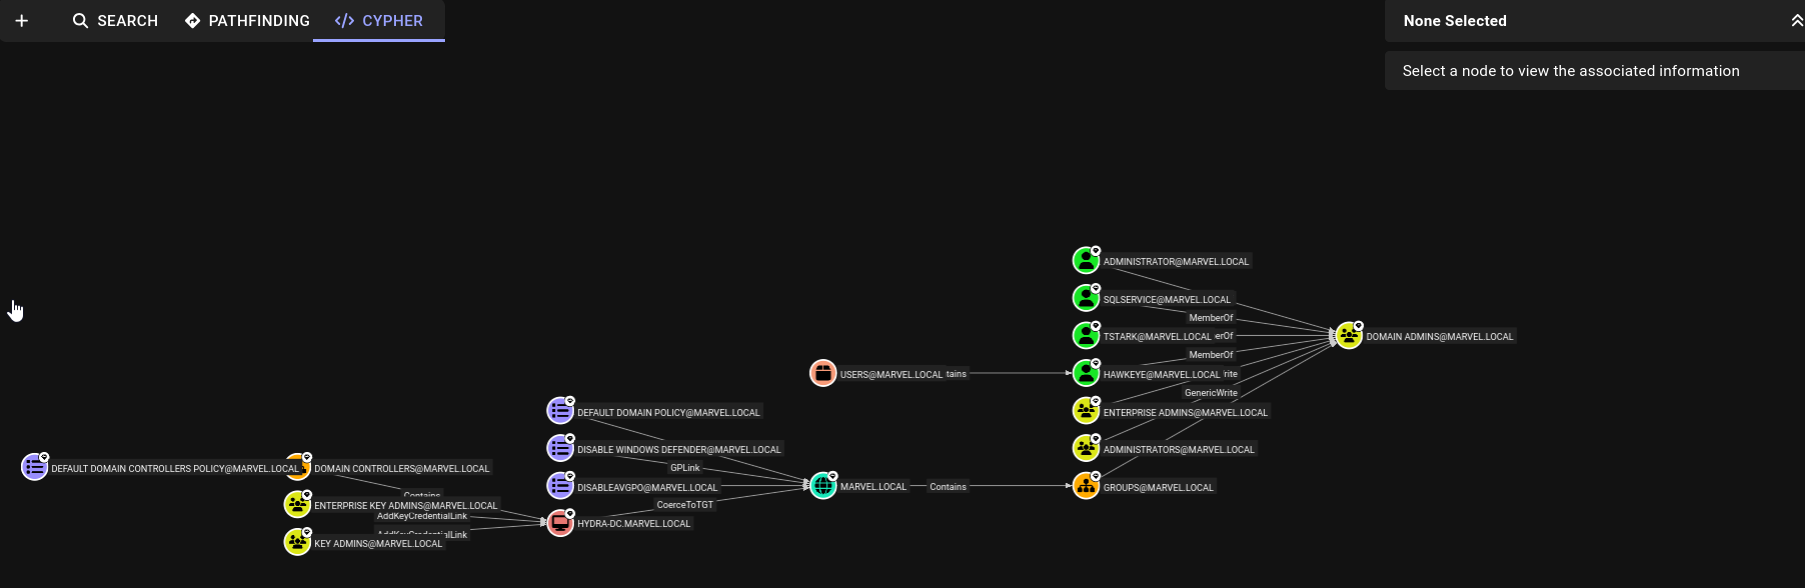
 12. This should provide us the whole info about
 Domain admins we are facing at this point:
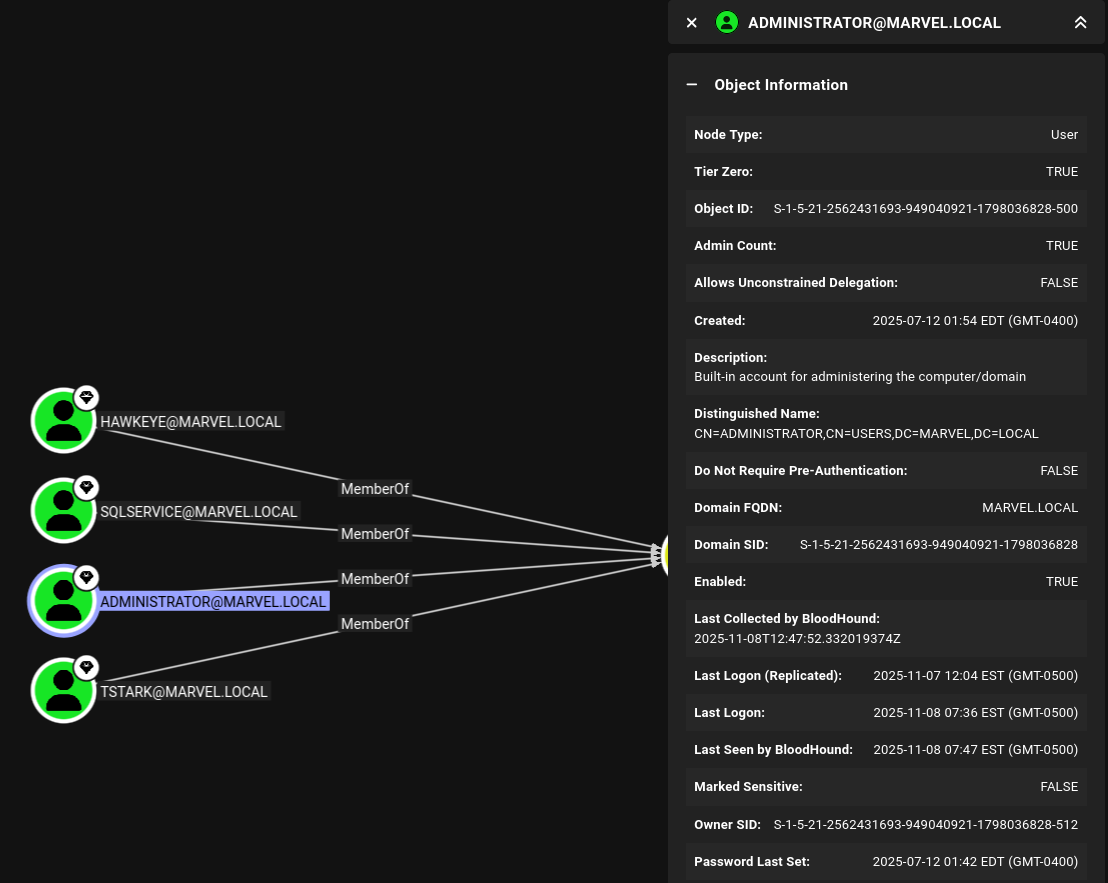
 13. We can click on any of the nodes to get more information:
 14. This tool can map attack paths also, use the query
 shortest path to domain admins: