Requirements:
Step 1: Install Java JDK 17
Elasticsearch is a Java application and requires a Java Development Kit (JDK) to run.
- On your Windows Server 2019 VM, open the Edge browser you installed.
- Search for “OpenJDK 17 download/jdk 17 install” (Microsoft, Oracle, Red Hat etc are all good providers).
- Download the Windows x64 JDK as a
.zipfile (not the JRE). - Once downloaded, extract the
.zipfile to a simple, permanent location, such asC:\Program Files\Java\jdk-17.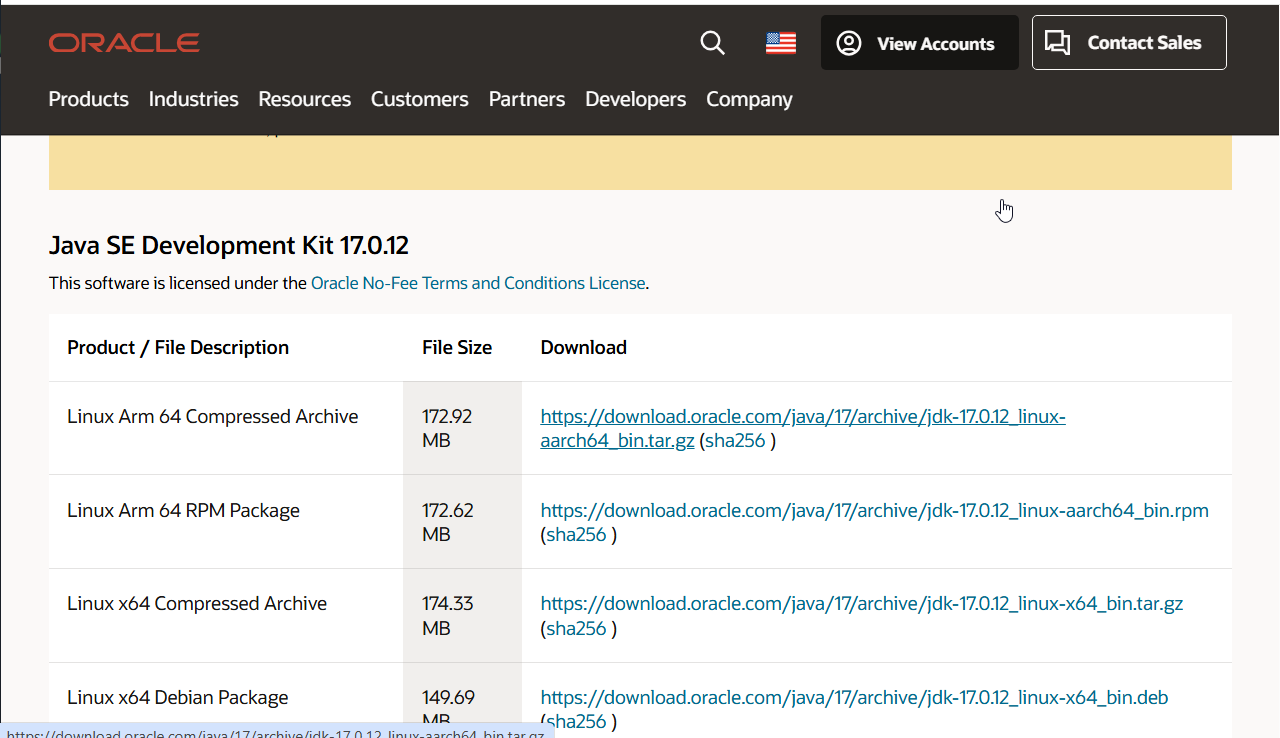
Step 2: Set the JAVA_HOME Environment Variable
This tells Windows where to find the Java installation.
- In the Windows Start Menu, type “environment” and select “Edit the system environment variables”.
- The “System Properties” window will open. Click the “Environment Variables…” button at the bottom.
- In the bottom half, under “System variables”, click the “New…” button.
- Variable name:
JAVA_HOME - Variable value:
C:\Program Files\Java\jdk-17(or the path where you extracted the JDK)
- Variable name:
- Click OK.
- Still in “System variables,” find the “Path” variable, select it, and click “Edit…”.
- Click “New” and add a new entry:
%JAVA_HOME%\bin - Click OK on all windows to close them.
To verify the install: Open a new Command Prompt and type
java -version. It should show “OpenJDK version 17…”.
if you are having this kind of error on accessing the env variables section:
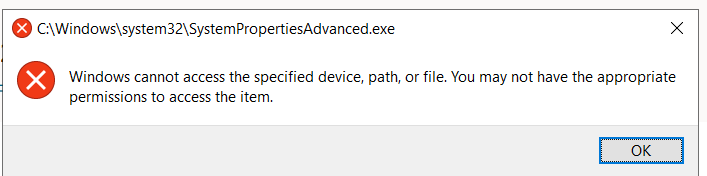 Then follow the second path:
- press
win + R - write
sysdm.cpland press enter. Then click on toadvancedtab, clickEnvironment variables. - Now you can rejoin the previous step - 3
Step 3: Download and Unzip Elasticsearch
- Go to the official “Past Releases” page for Elasticsearch (search for “Elasticsearch past releases”).
- Find a modern version you want to use, for example, version 7.17.10 (a popular, stable release from the 7.x series) or any 8.x version.
- Click the “Download” link and get the Windows
.zipfile. - Create a folder for your server, for example:
C:\Elasticsearch. - Extract the entire contents of the
.zipfile into that folder. Your final path will look something likeC:\Elasticsearch\elasticsearch-7.17.10.
Step 4: Deliberately Misconfigure Elasticsearch
This is the most important step. You will edit the main configuration file to add the “vulnerabilities.”
- Navigate into your Elasticsearch folder, then into the
configsub-folder.- Example:
C:\Elasticsearch\elasticsearch-7.17.10\config
- Example:
- Open the file named
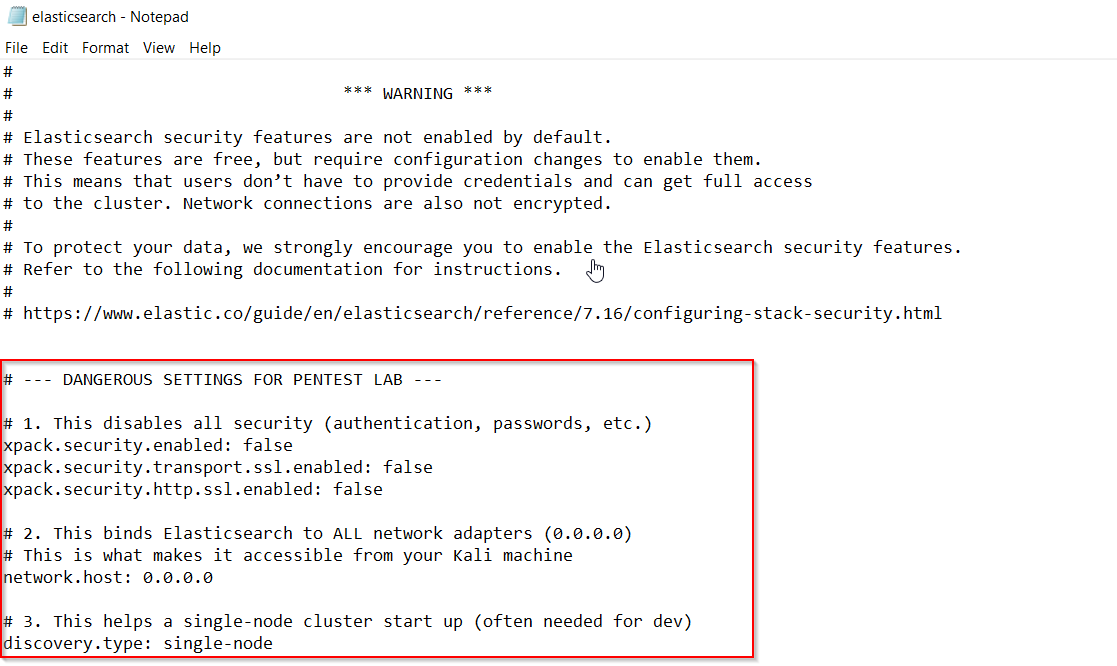
elasticsearch.ymlin a text editor like Notepad. - This file is mostly comments (lines starting with
#). Scroll to the very end of the file and add the following lines on a new line. (This avoids accidentally editing a commented-out line).
# --- DANGEROUS SETTINGS FOR PENTEST LAB ---

# 1. This disables all security (authentication, passwords, etc.)
xpack.security.enabled: false
xpack.security.transport.ssl.enabled: false
xpack.security.http.ssl.enabled: false

# 2. This binds Elasticsearch to ALL network adapters (0.0.0.0)
# This is what makes it accessible from your Kali machine
network.host: 0.0.0.0

# 3. This helps a single-node cluster start up (often needed for dev)
discovery.type: single-node
 4. Save the
 elasticsearch.yml file and close the text editor.
Step 5: Run the Server
- Open a Command Prompt.
- Navigate to your Elasticsearch installation directory:
cd C:\Elasticsearch\elasticsearch-7.17.10
- Run the server using its batch file:
bin\elasticsearch.bat
- A lot of text will scroll by. Wait until you see messages indicating the server has started and is “publishing” its address. You may see a warning about security being disabled—this is expected and confirms your misconfiguration is working.
- Leave this command prompt open! Closing it will shut down the server.
