site:microsoft.com-> To view specific results that only contain the target domain name.- Imagine that you are looking for search results that contain a keyword but only from the target domain. Here, you can use the
keyword site:domain.com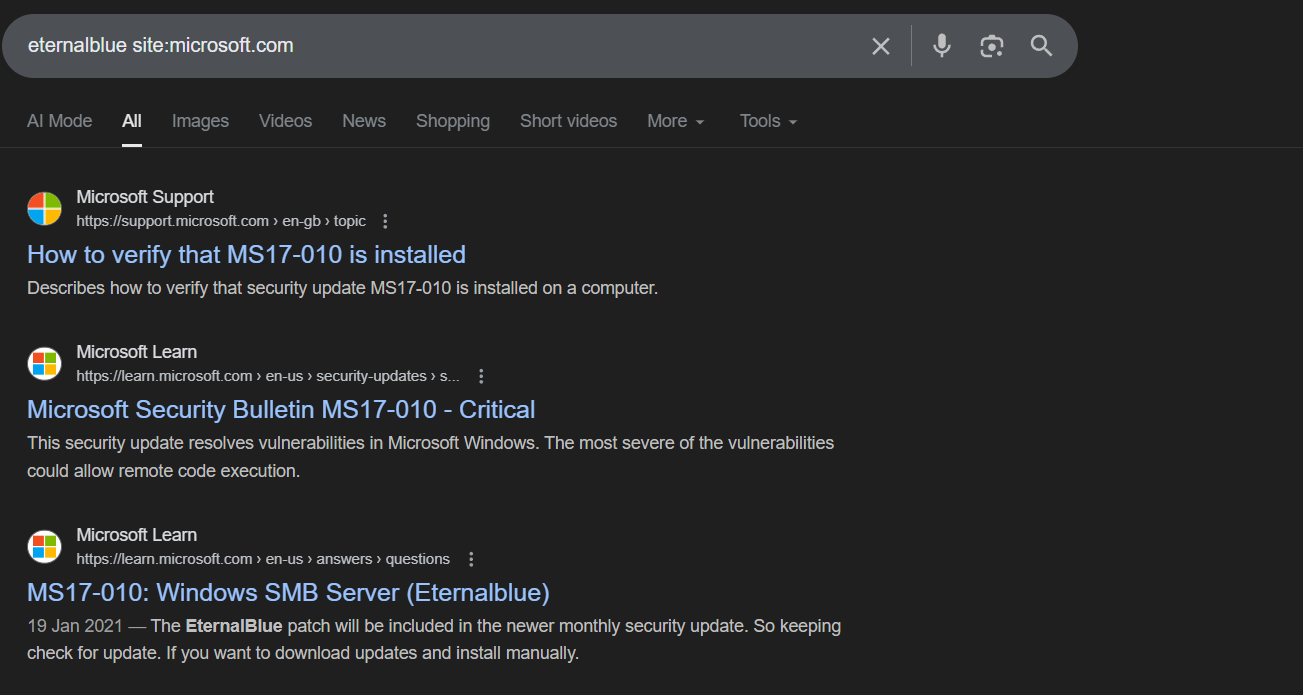
- If you want to filter your search results so that they include two specific keywords, you can use the
keyword1 AND keyword2 site:domain.comsyntax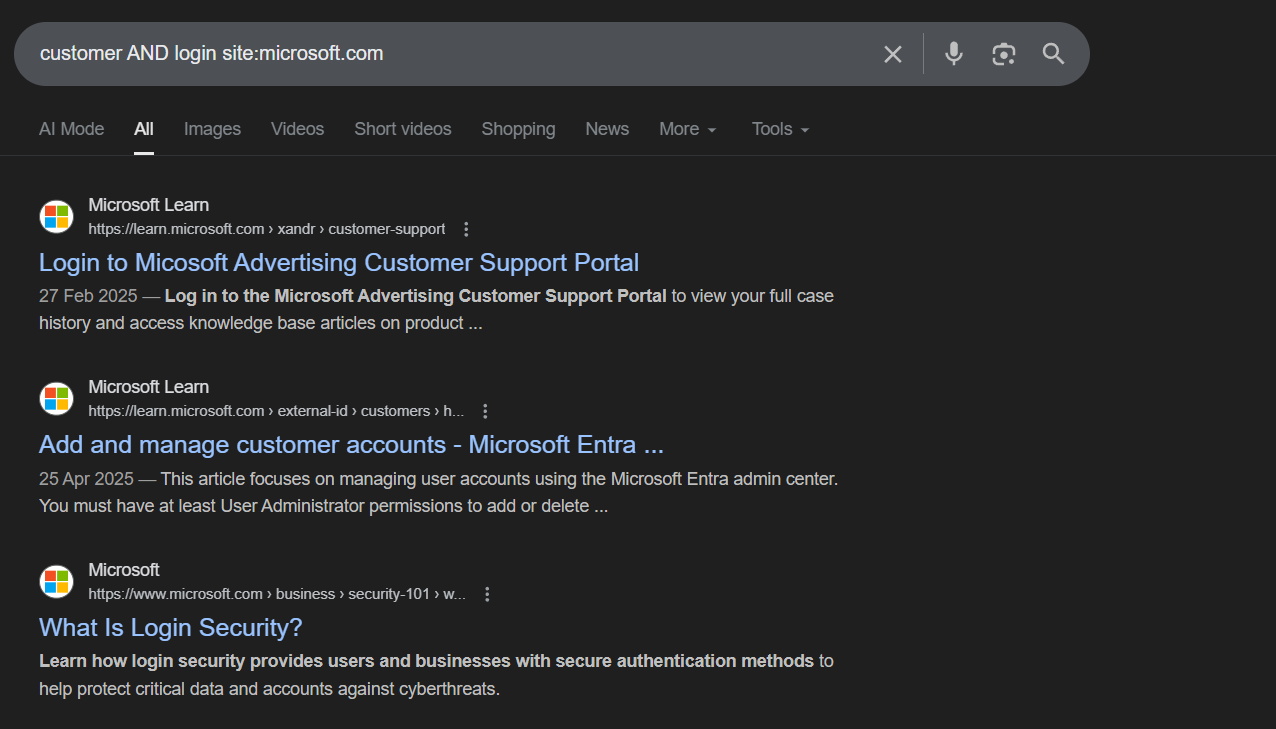
- We can also use the
ORsyntax. - To filter the search results to display a specific file type from a target domain, use the
site:domain.com filetype:file typesyntax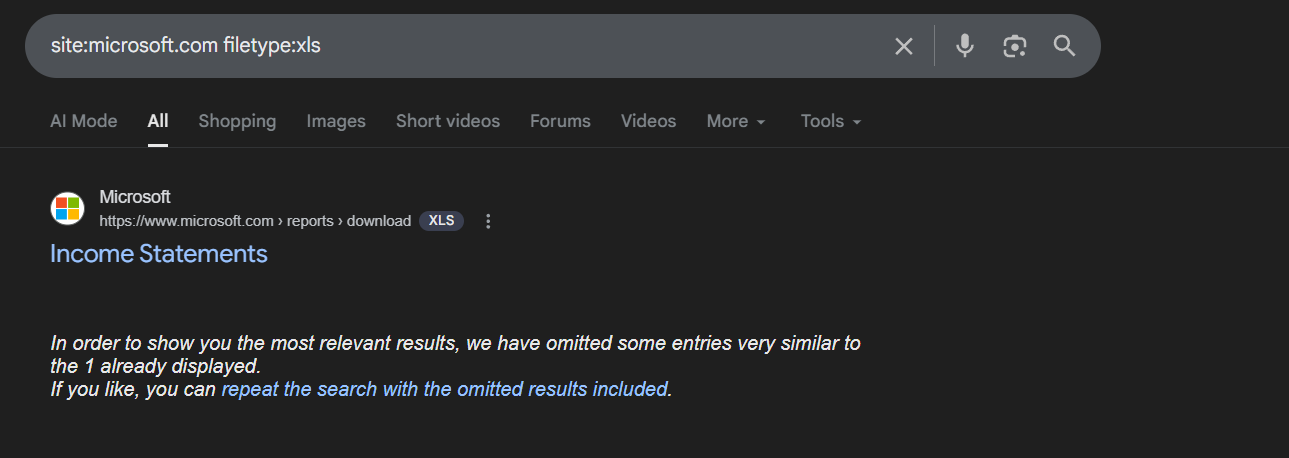
- To discover specific URLs that contain a specific keyword within their page title, use the
site:domain.com intitle:keywordsyntax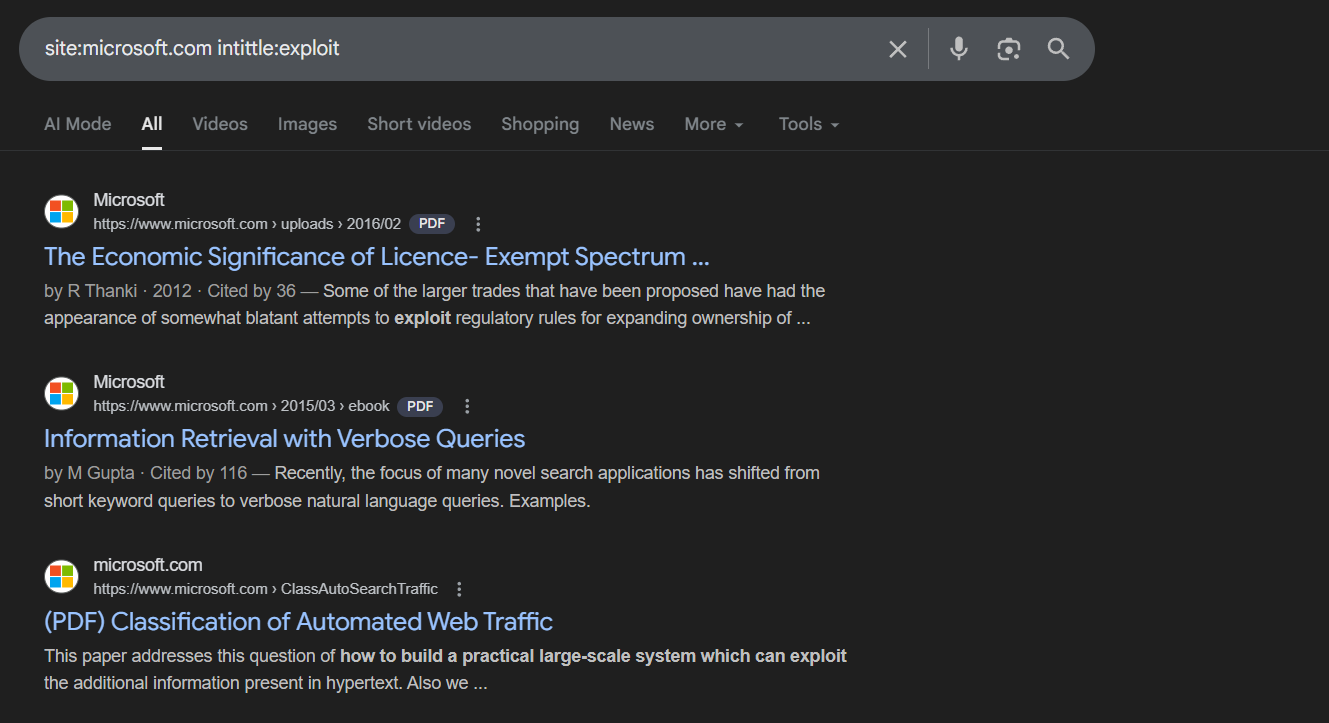
- To remove the display results of URLs for a target domain that does not include a specific keyword, use the
site:domain.com –keywordsyntax
You can use the intext: syntax with a keyword to search for a specific web page that contains the keyword within its text/body. Using inurl: with a keyword allows you to filter URLs that contain the specific keywords within its URL, which may lead to a potentially sensitive directory in a company’s domain.
- We can also head over to the home page of
googleby typinggoogle.com, on the right lower corner click onsettings > advanced search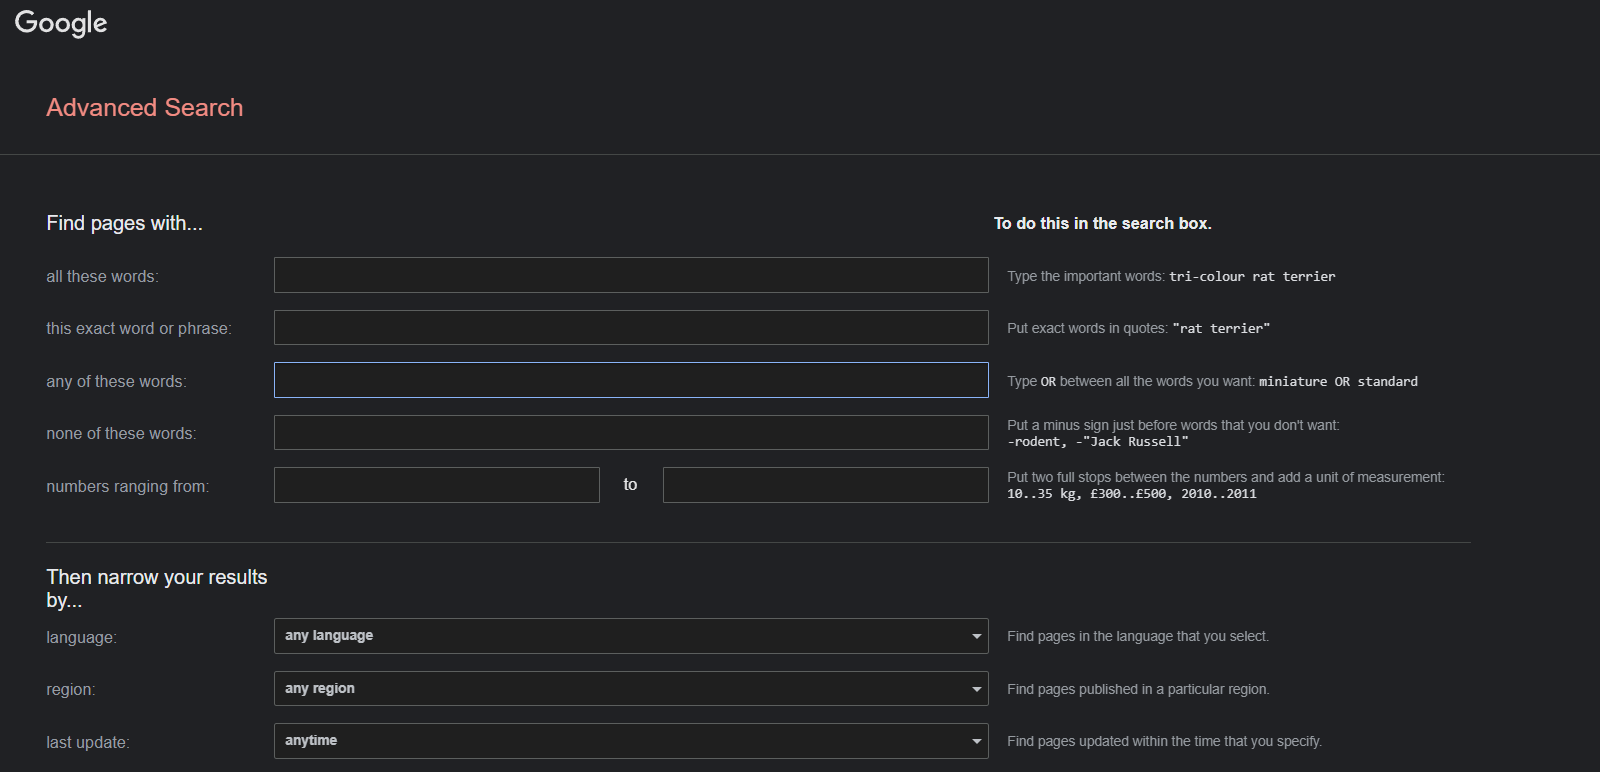 After filling the necessary details and clicking on advanced search button, google will automatically search for you.
 - While there are so many possibilities when using Google search operators, it can be a bit overwhelming. Google Hacking Database (GHDB) is maintained by the creators of Kali Linux, Offensive Security (https://www.offensive-security.com), and can be found at https://www.exploit-db.com/google-hacking-database. This website contains a list of various Google dorks (search operators), which are used to find very sensitive information on the internet using Google Search.
DNS reconnaissance:
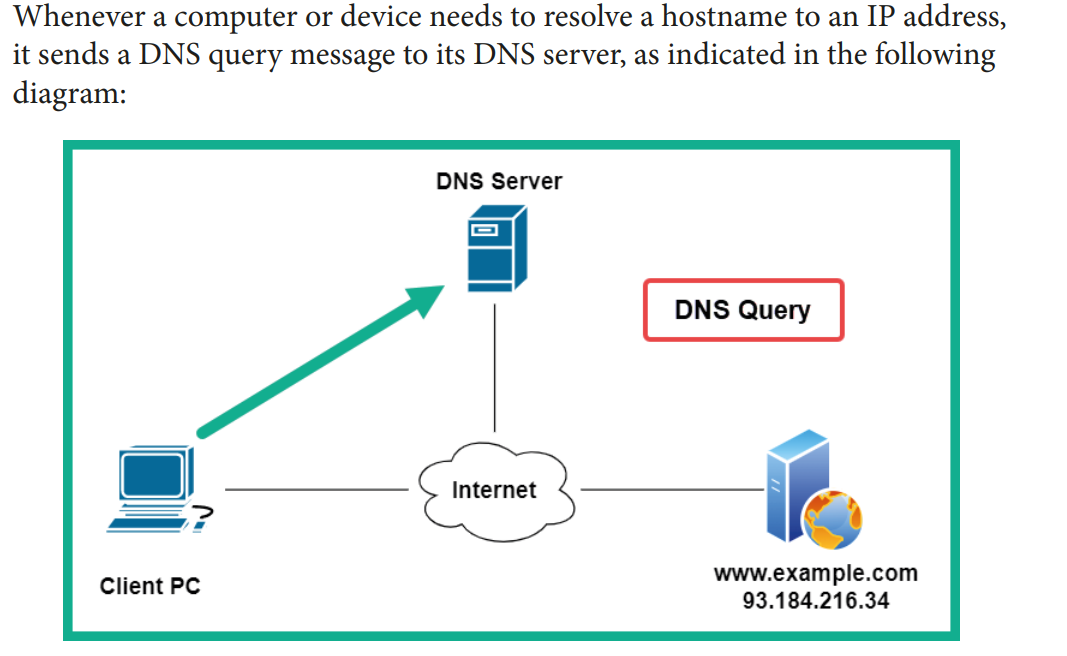
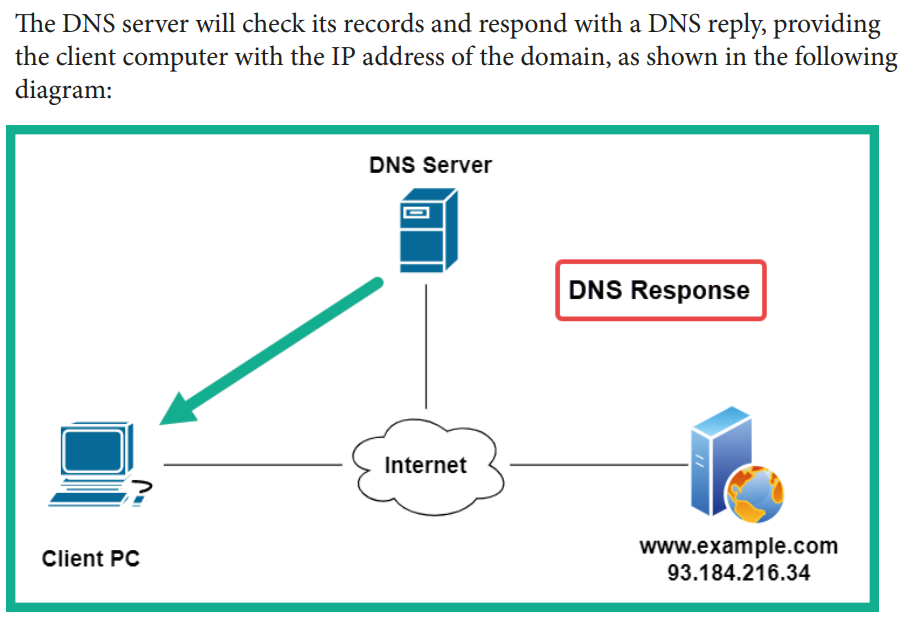
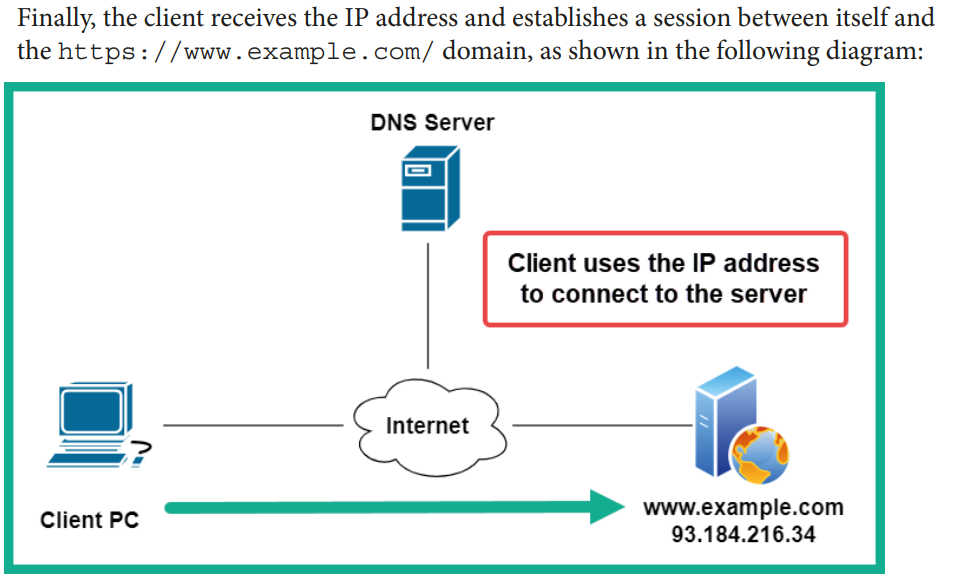
A DNS server is like a traditional telephone directory, with a list of people and their telephone numbers. On a DNS server, you can find records of the hostnames of people, as well as their associated IP addresses, which are similar to telephone numbers.
There are many public DNS servers on the internet; some are created by threat actors with malicious intentions, such as redirecting unaware users to malicious websites. As a result, I recommend using a trusted DNS provider on all of your networking devices and computers to improve your online safety. The following are some popular DNS servers on the internet: • Cloudflare DNS: https://1.1.1.1/ • Quad 9 DNS: https://www.quad9.net/ • Cisco OpenDNS: https://www.opendns.com/ • Google Public DNS: https://developers.google.com/speed/public-dns
DNS record types:
• A: Resolves a hostname to an IPv4 address.
• AAAA: Resolves a hostname to an IPv6 address.
• NS: Contains the name servers’ information.
• MX: Contains the mail exchange (email) servers.
• PTR: Resolves an IP address to a hostname.
• CNAME: Provides a canonical name or an alias.
• RP: Specifies the person that’s responsible for the domain.
• SOA: Contains information about the administrator of the domain.
• SRV: Contains a service port number for a specific service of the domain.
As an aspiring penetration tester, DNS enumeration is the technique of probing specific DNS records for a specific organization’s domain. In other words, you ask a DNS server about the IP addresses and server names for a target organization. Simply put, you can retrieve both the hostname and the IP addresses of a target’s public servers, such as their email servers.
We can also perform DNS zone trasnfer to see misconfigurations on the DNS server or whether it leaks sensitive information.
DNS enumeration:
dnsrecon
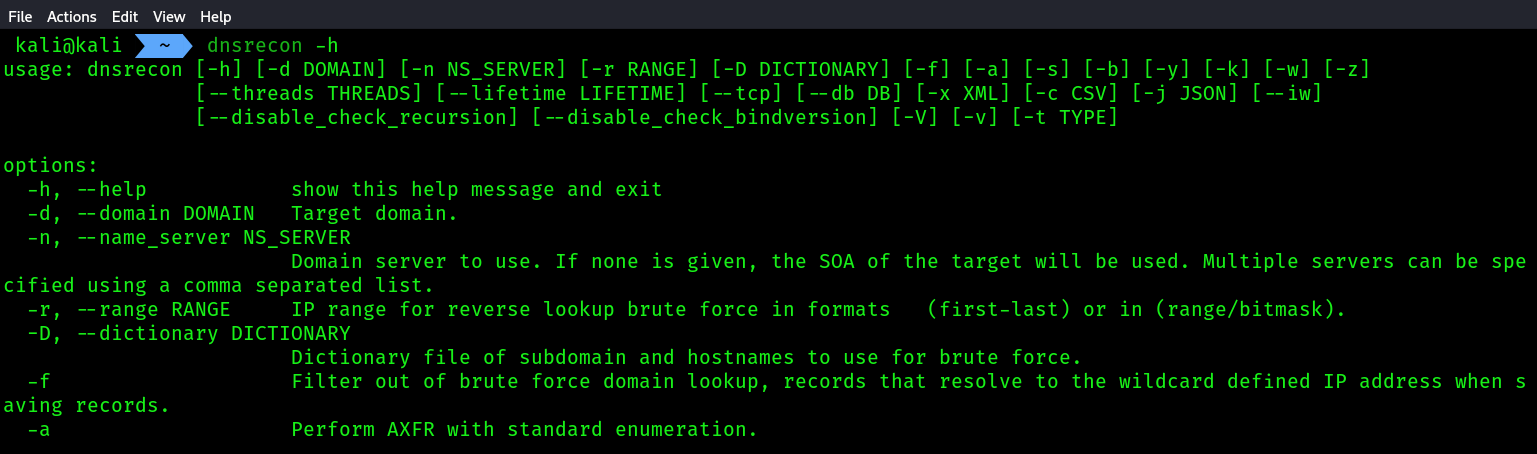
dnsrecon -d microsoft.com:-doption will take the Domain name.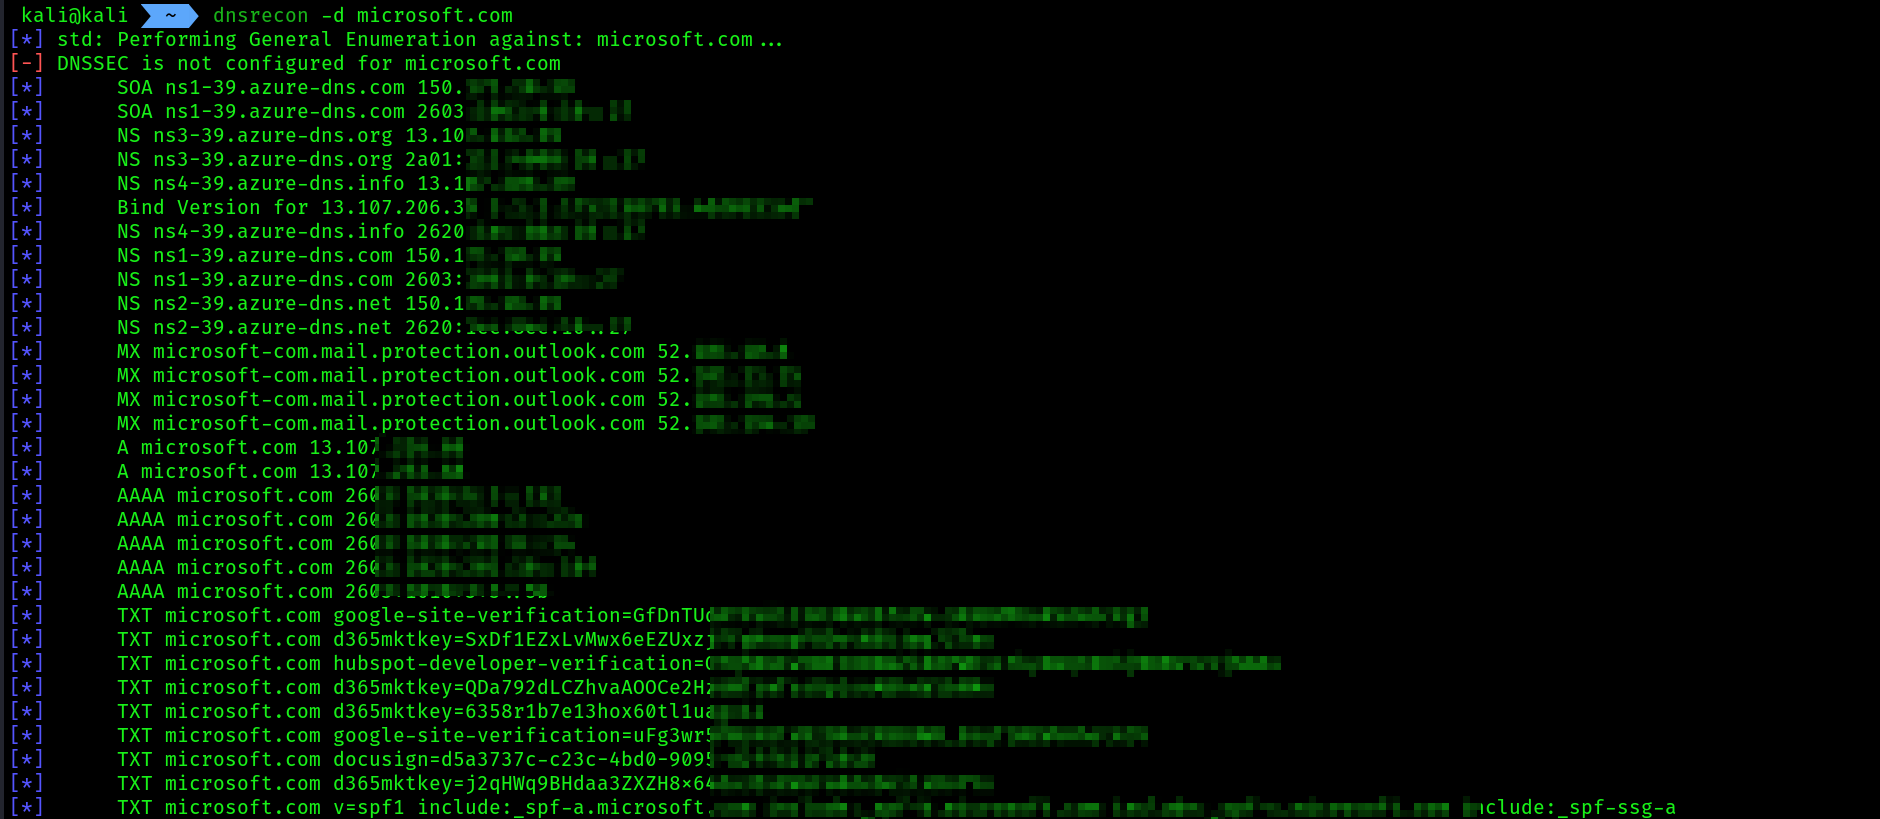
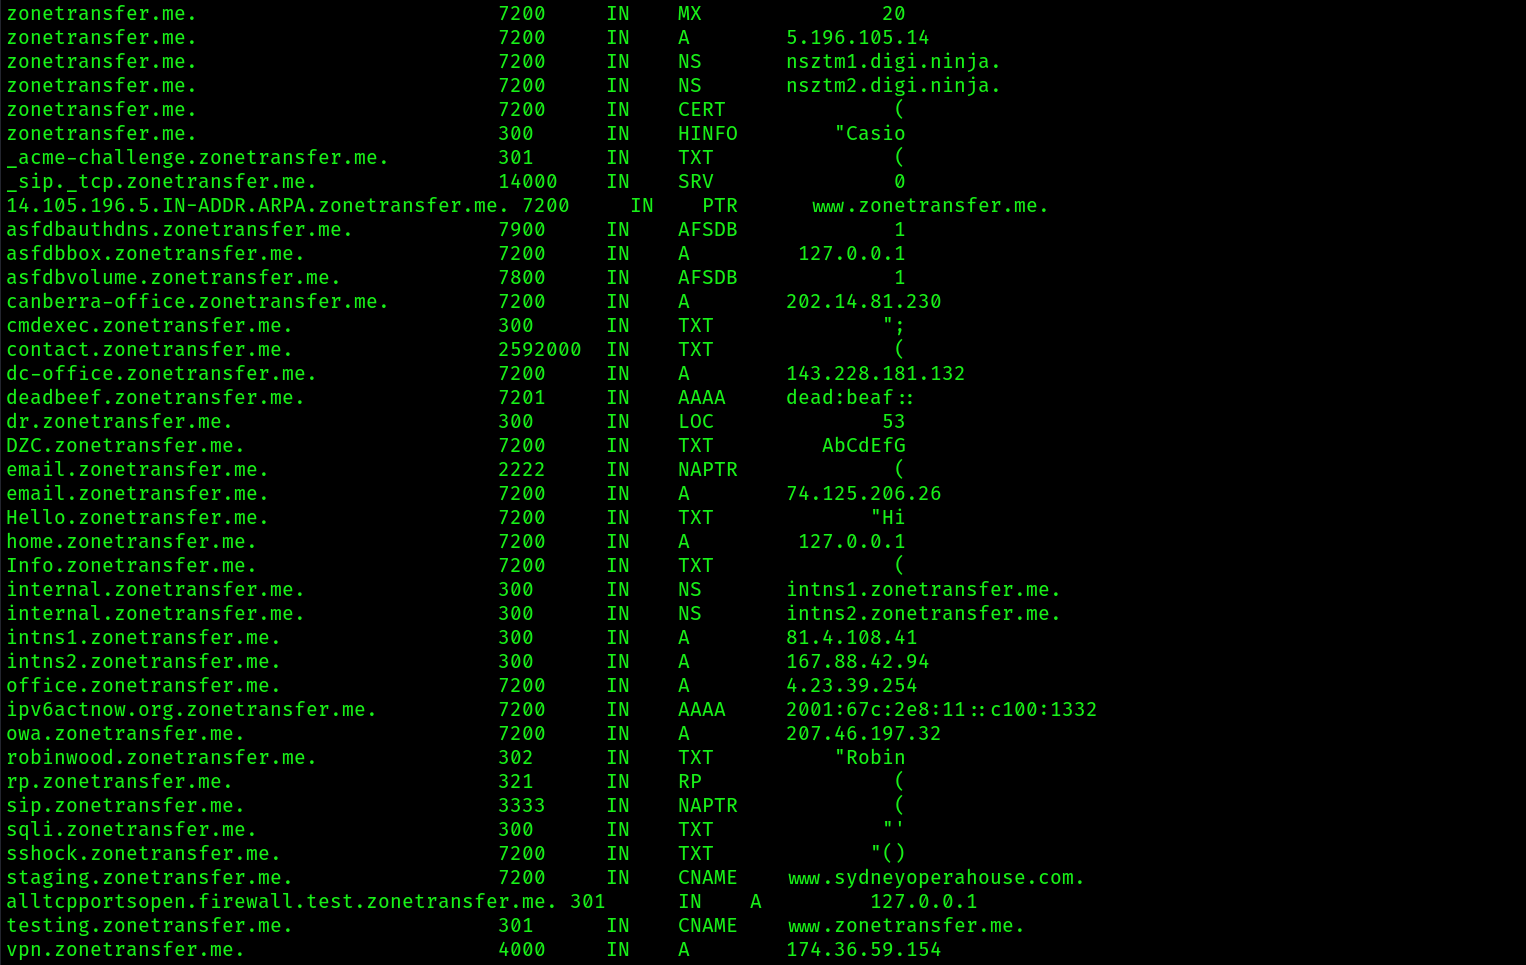
DNS zone transfer misconfigurations
- using
zonetransfer.me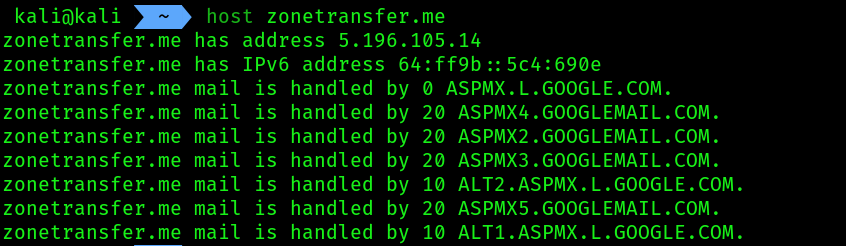

Dnsenum:
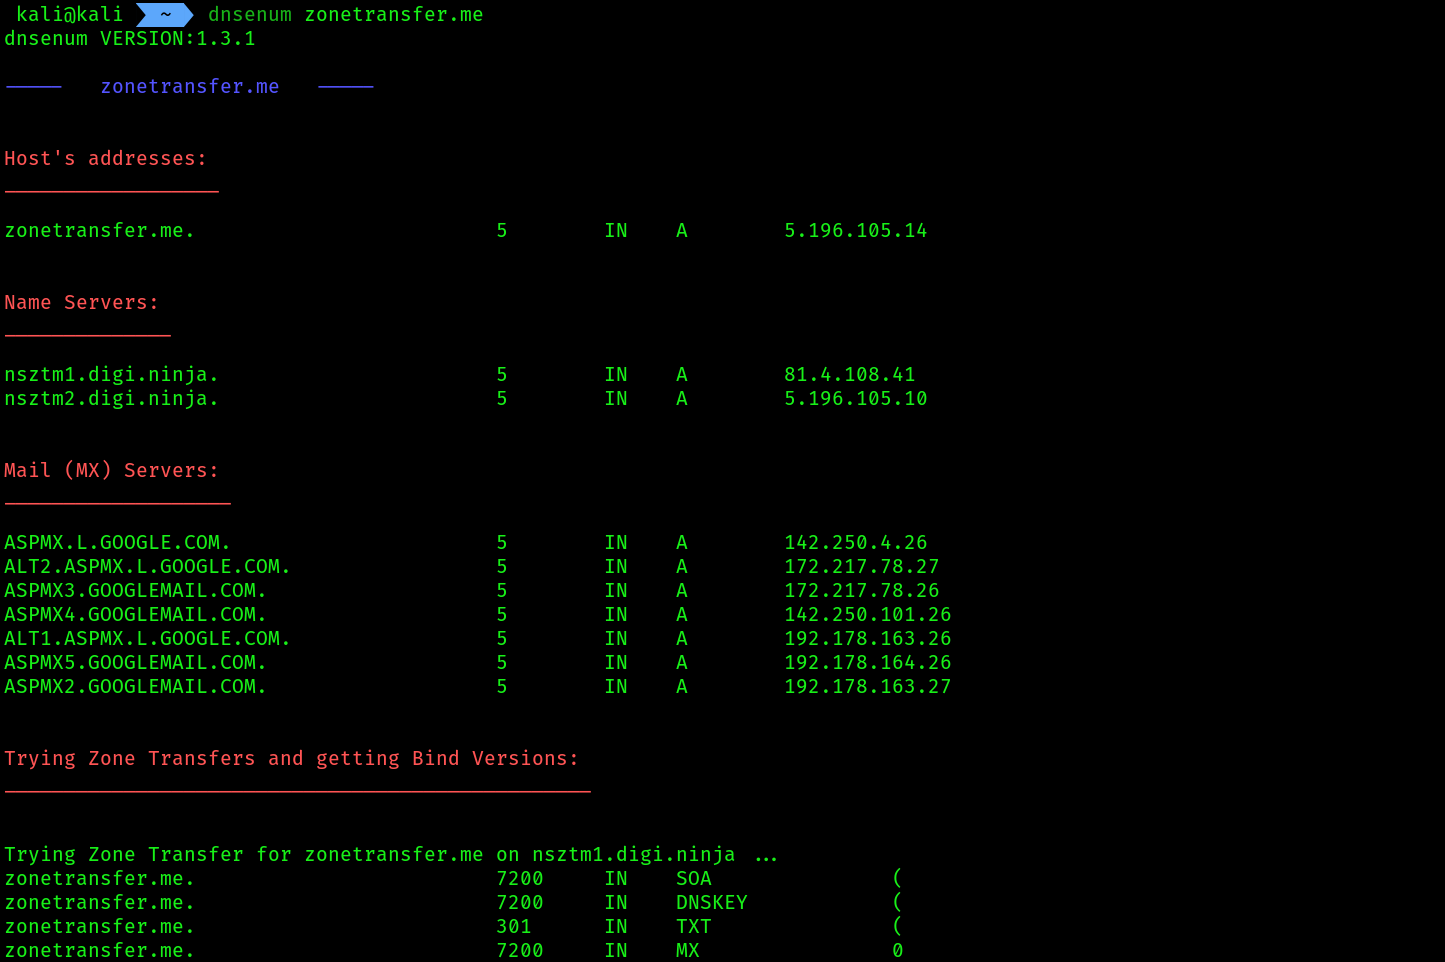
OSINT automation:
Spiderfoot is a very popular OSINT tool that can help penetration testers automate their processes and workloads when gathering intelligence about their targets. This tool provides excellent visualization of the all data it has gathered in the form of graphs and tables, which helps you easily read and intercept the data that’s been collected.
Using spiderfoot:
- Identify your IP address.
- Then run this command:
sudo spiderfoot -l your_ip:80, if any service is running on port 80 already in your system, just change the port number on thespiderfootcommand as your choice.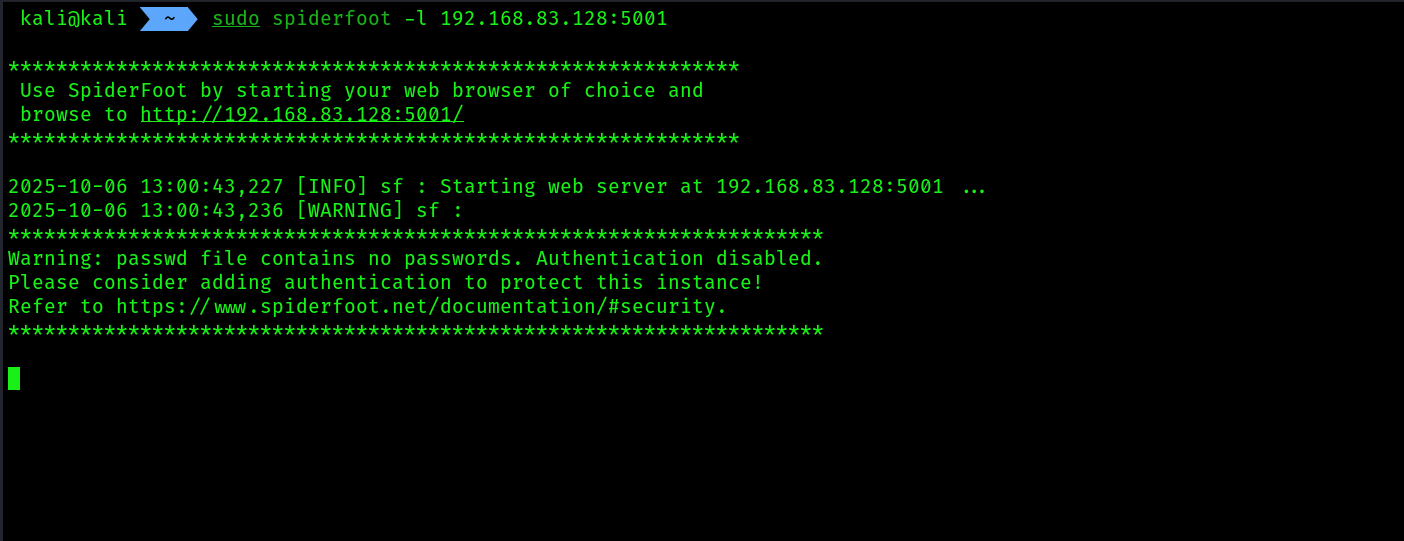
- Now click on
settingsbutton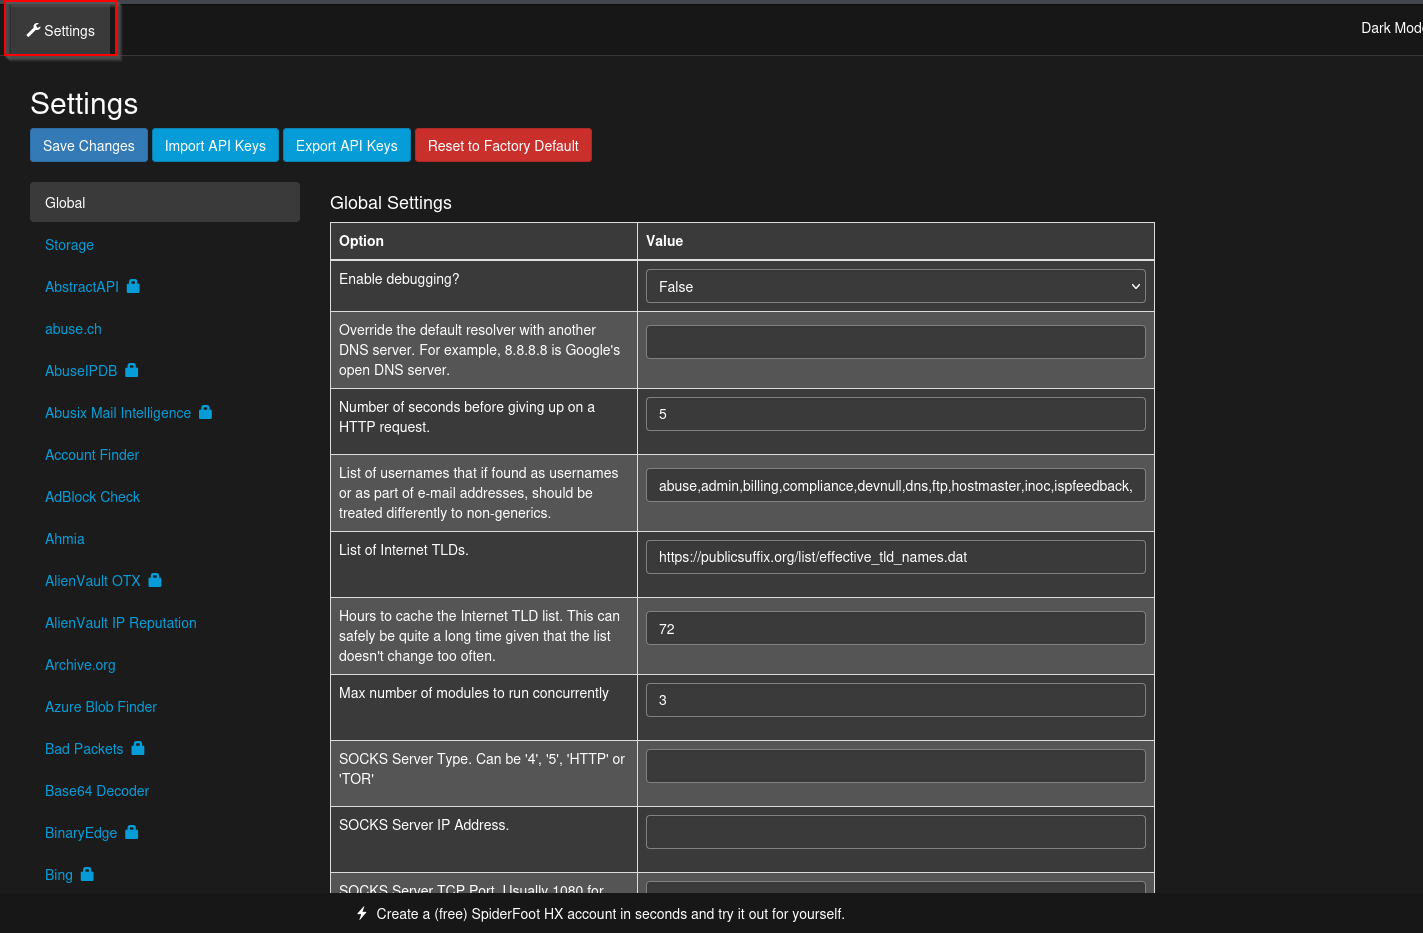 Spiderfoot can gather information from a wide range of online sources. However, some of these sources will require an Application Programming Interface (API) key to allow Spiderfoot to perform queries on some sources. The sources that require an API key are indicated with a lock icon next to their names
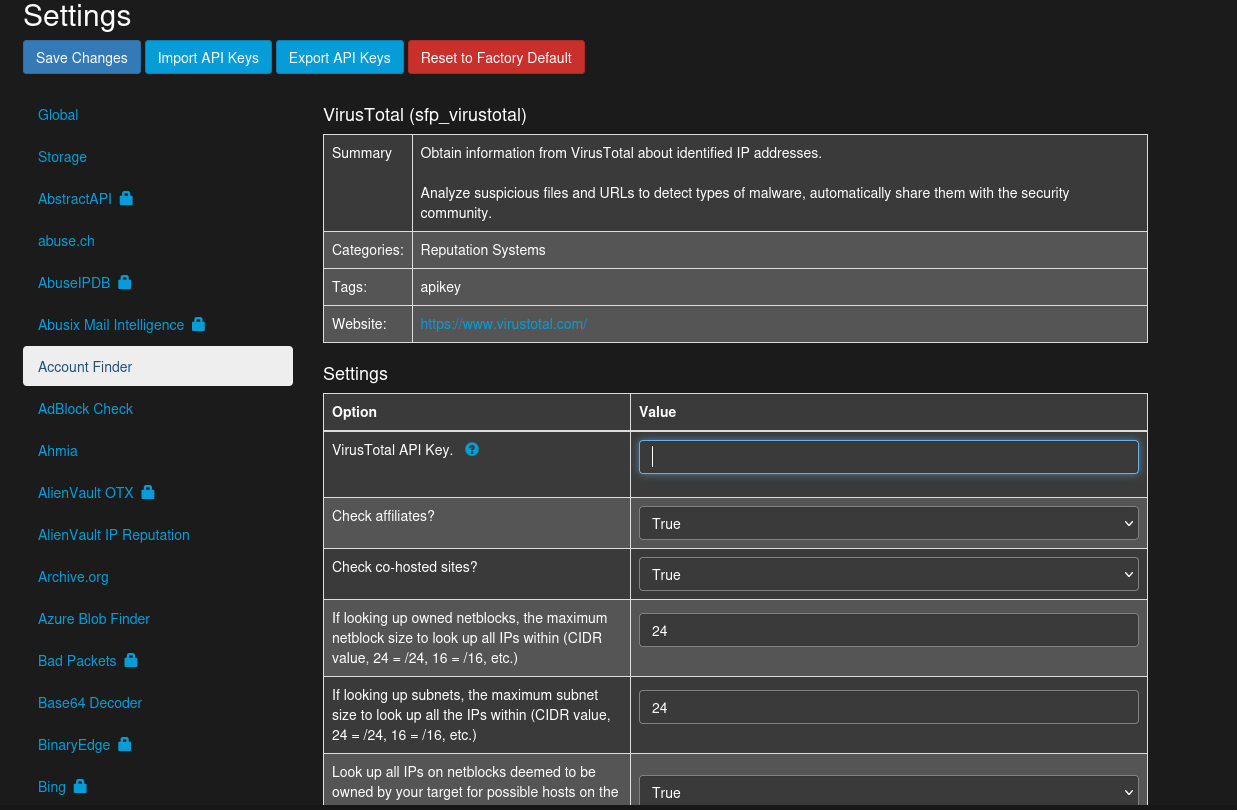 Keep in mind that Spiderfoot works better when the API keys have been configured within its Settings menu. Many of these OSINT sources provide an API key if you register for a free account on their website. Do take the time to register on a couple of these online sources/websites and simply insert your unique API key into the Spiderfoot Settings menu.
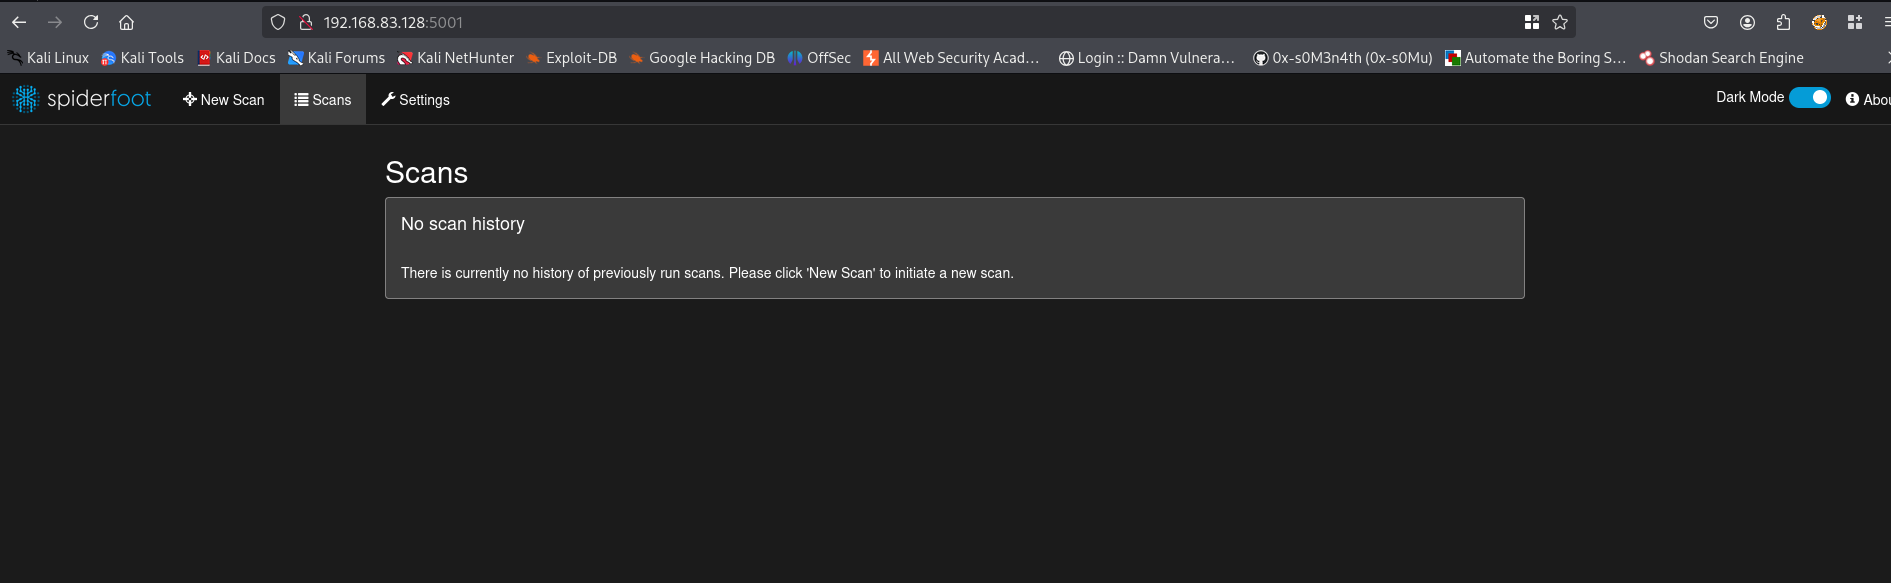
 - Now let’s start scanning, follow the options ->
new scan -> give name and target and then select footprint -> Run scan now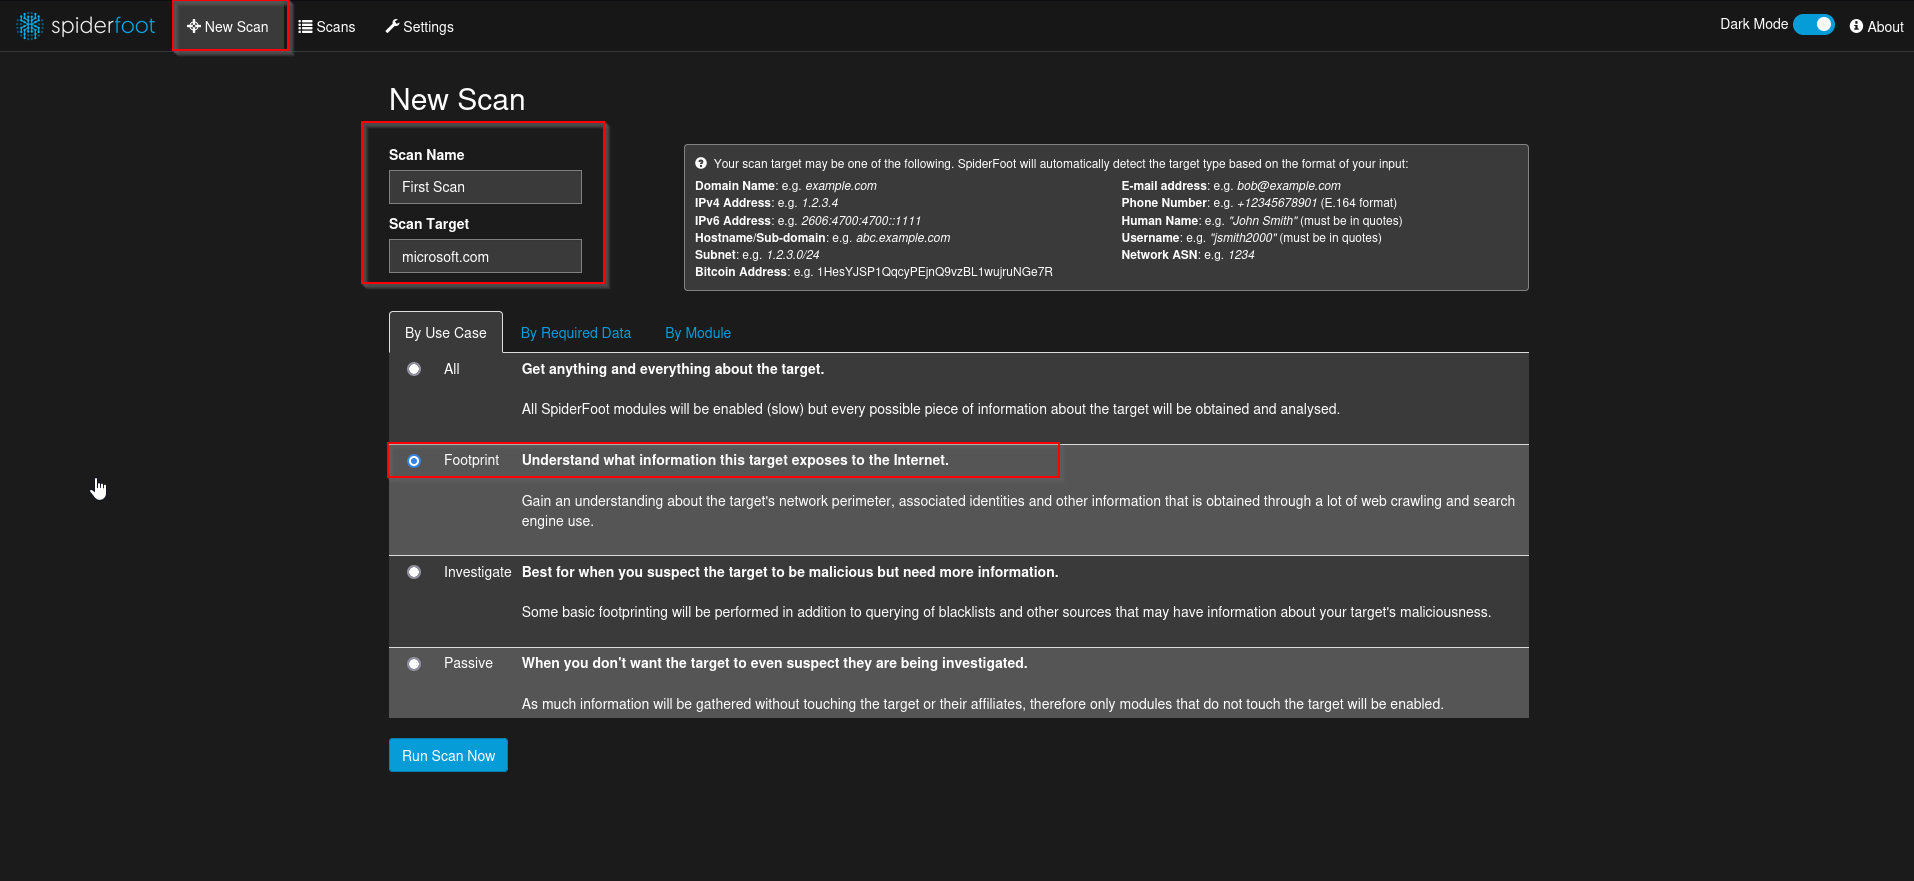
- Now as the scan is running click on
graph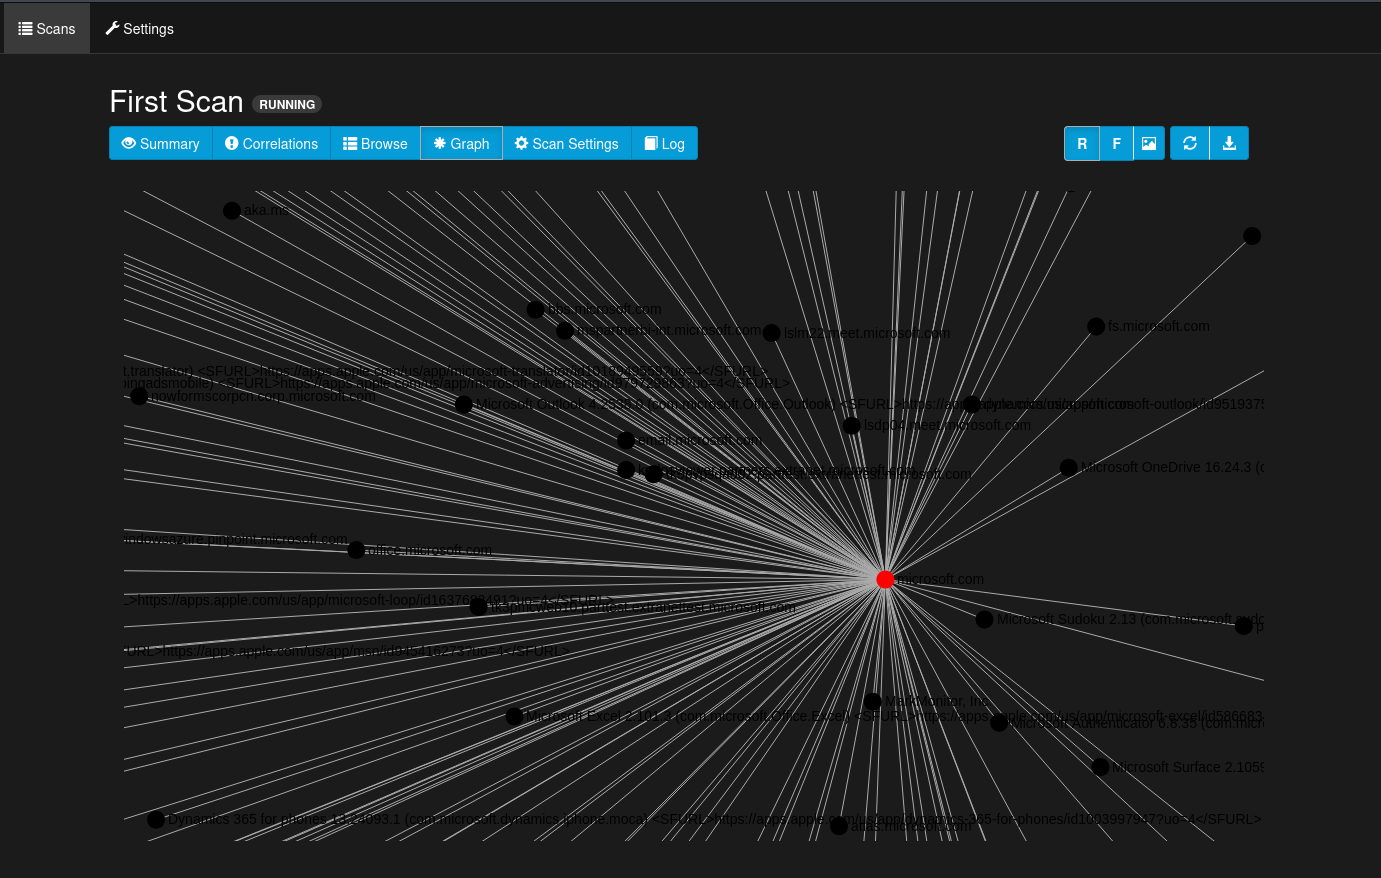 This will show all the connections.
 - Next, to view the data that was collected based on categories, click on
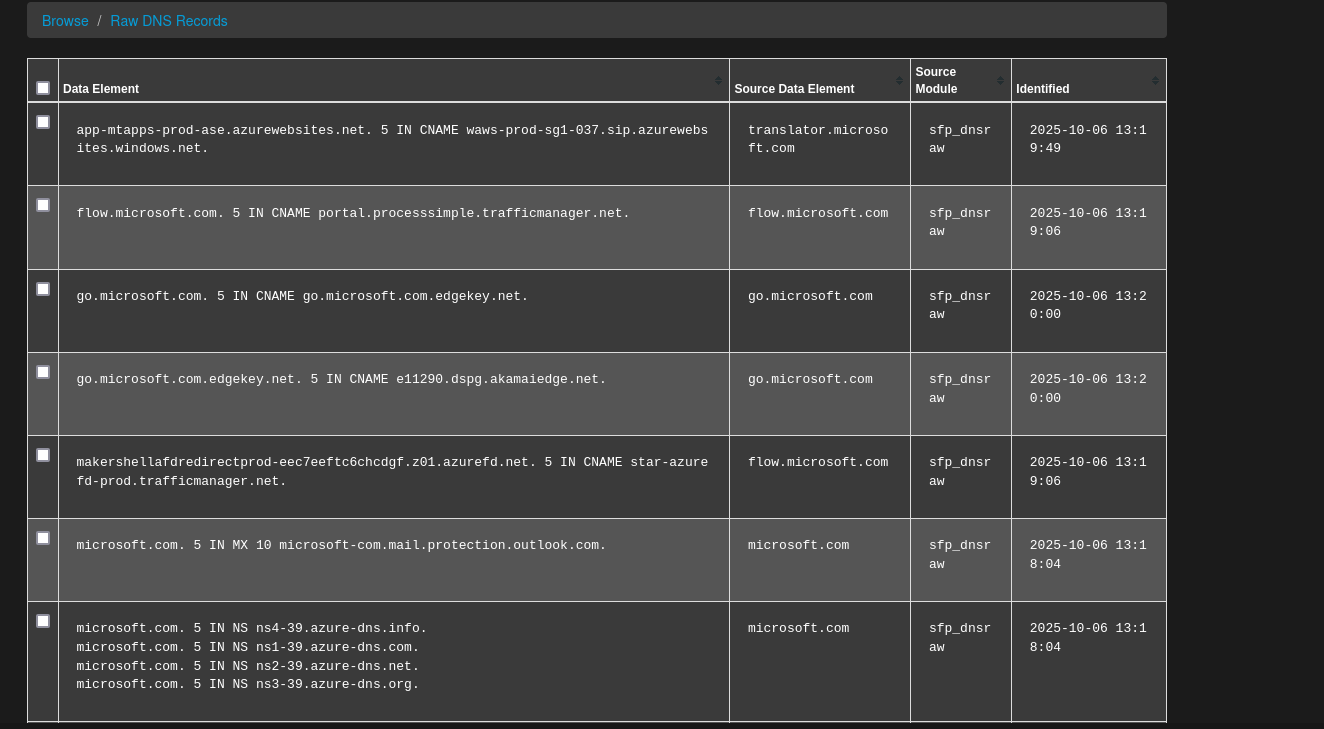
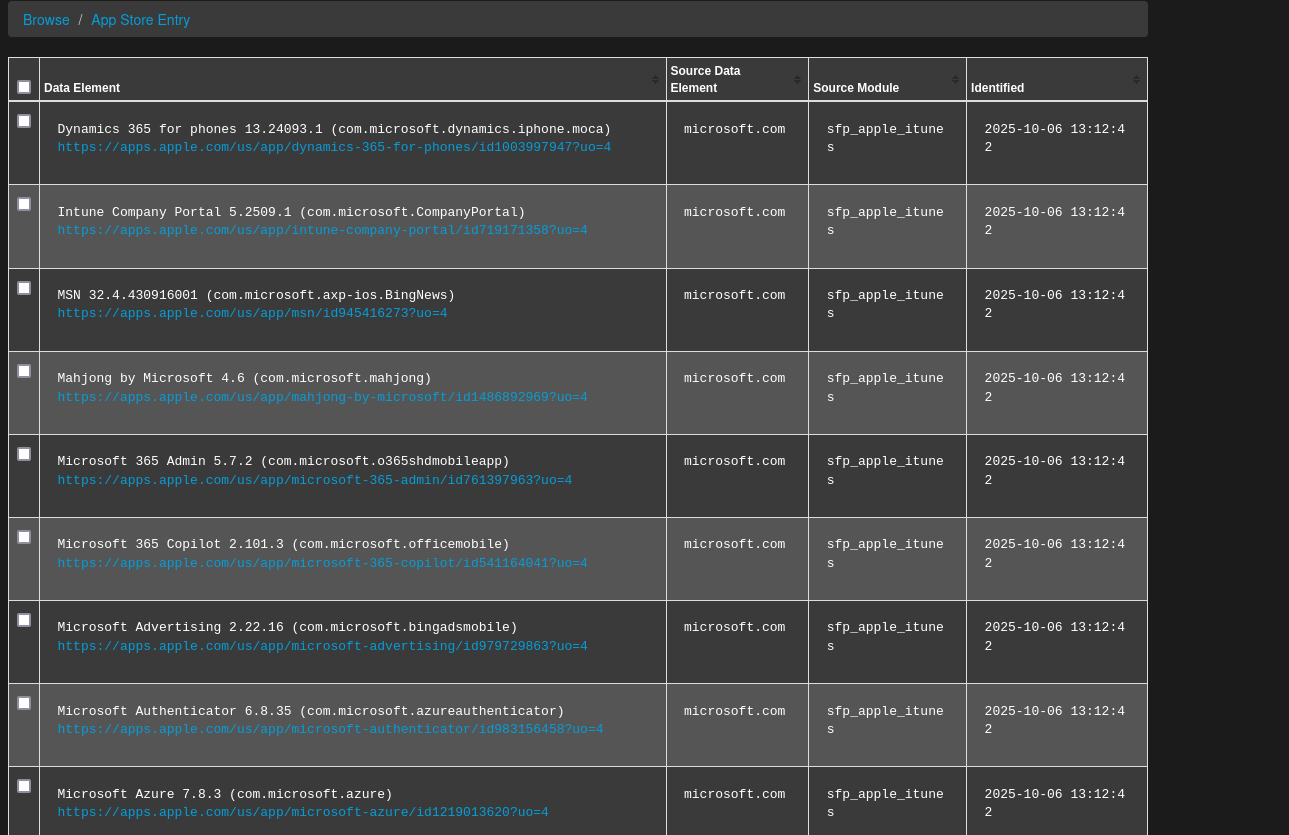
Browse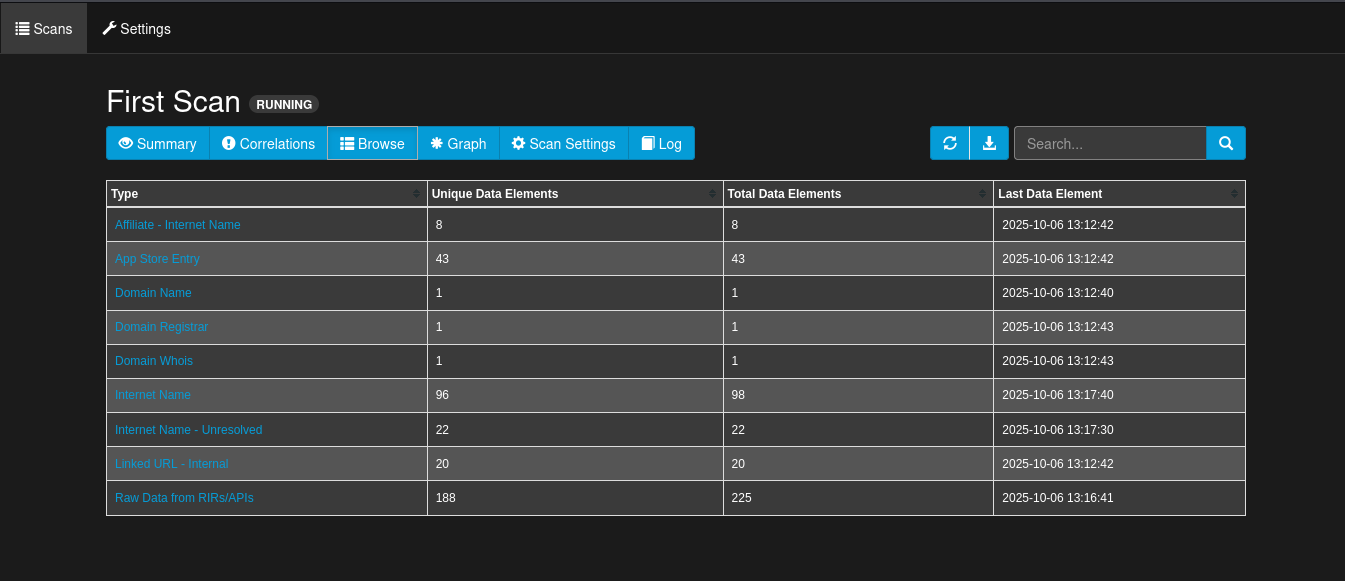
- Click on any data
- RAW DNS records:
Browse -> Raw dns records