- Follow these commands step by step ->
sudo apt-get install software-properties-common
sudo add-apt-repository ppa:oisf/suricata-stable
sudo apt-get update
sudo apt-get install suricata
- It will be installed directly.
- Use the github repo
testmynids.orgto generate malicious traffic inside the network and monitor the alerts. - Or follow the next steps for some adventure , adding custom rules and basic testing methods.
Generating custom rules in suricata:
ARP request alerts:
- Open the suricata.rules file, where we will add the rule:
sudo vim /var/lib/suricata/rules/suricata.rules
- Add the following rule in your desired location inside the file:
alert arp any any -> any any (msg:"LOCAL Testnet ARP Scanning Detected"; threshold: type both, track by_src, count 15, seconds 5; sid:1000002; rev:1;)
Command debrief: “If any device sends 15 or more ARP packets within 5 seconds, generate an alert with ID 1000002.”

Enable the ARP capturing:

Save and exit.
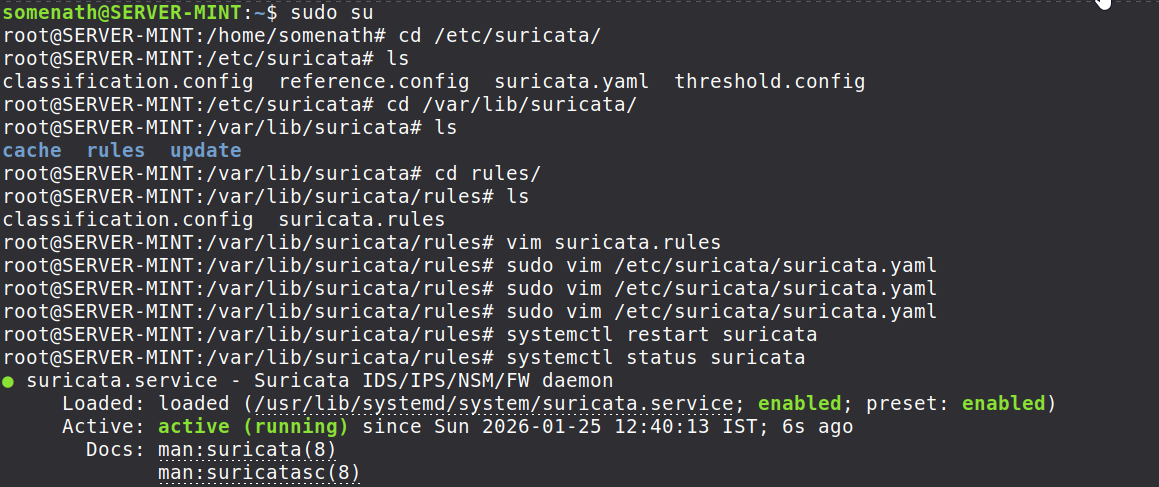
Restart suricata using the following command:
sudo systemctl restart suricata
command screenshots:
- Use the following command to generate traffic from anyother/same machine itself from terminal:
sudo netdiscover -r 192.168.83.0/24
- We can see the logs comming in.

SSH bruteforce rule:
- Next add custom rule for logging SSH brute force attempts
alert tcp any any -> any 22 (msg:"LOCAL SSH Brute Force Detected"; flags:S; flow:stateless; threshold: type both, track by_src, count 5, seconds 30; sid:1000003; rev:1;)
- We are checking for the initial handshake of TCP which is the SYN flag.
- count 5, seconds 30: Triggers if one IP tries to initiate 5 connections in 30 seconds.

- Again restart suricata after adding this rule.
Integrating suricata with wazuh:
I have integrated suricata logs directly inside wazuh, i’ll share now how i did that. It’s much easier to see the logs in a GUI pane rather than in a cli view.(my preference)
Note
You must have already configured wazuh properly.
- Configuring the
Wazuh-agent:- Open the agent config file ->
sudo vim /var/ossec/etc/ossec.conf
- Search inside vim
<ossec-config>, if you don’t know how to search, simply press/and then write whatever you are looking for like this/<ossec-config> - Then look for
<localfile>block and add the suricata log location :
<localfile>
  <log_format>json</log_format>
  <location>/var/log/suricata/eve.json</location>
</localfile>
- Save and exit
- Restart
wazuh-agentusing the following command:
sudo systemctl restart wazuh-agent
- You can see the logs inside wazuh’s overview tab. Also to filter
suricataspecific logs , on the global search bar use the following command:
rule.groups:suricata