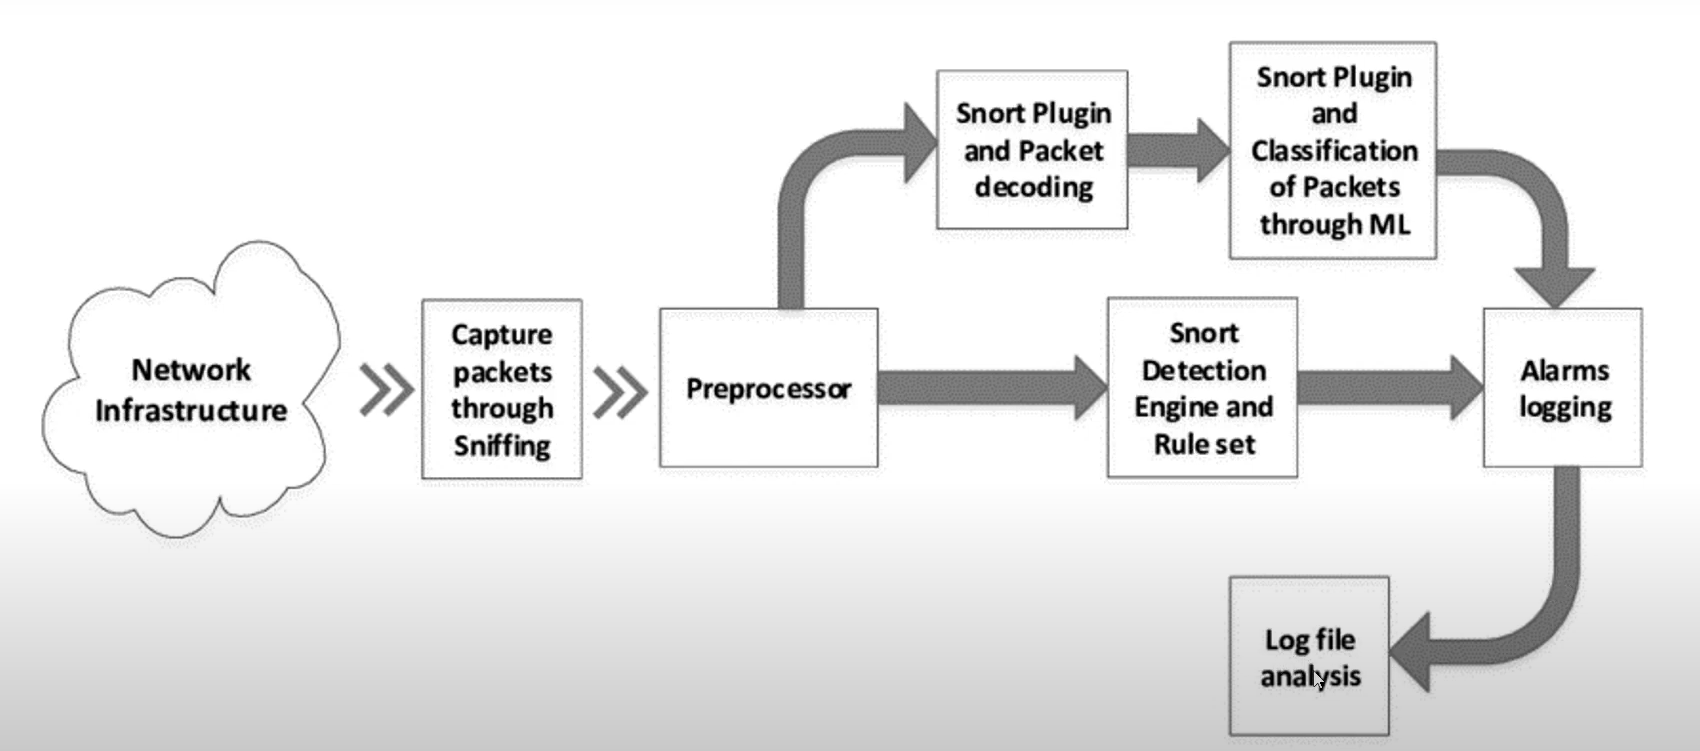
How snort works:
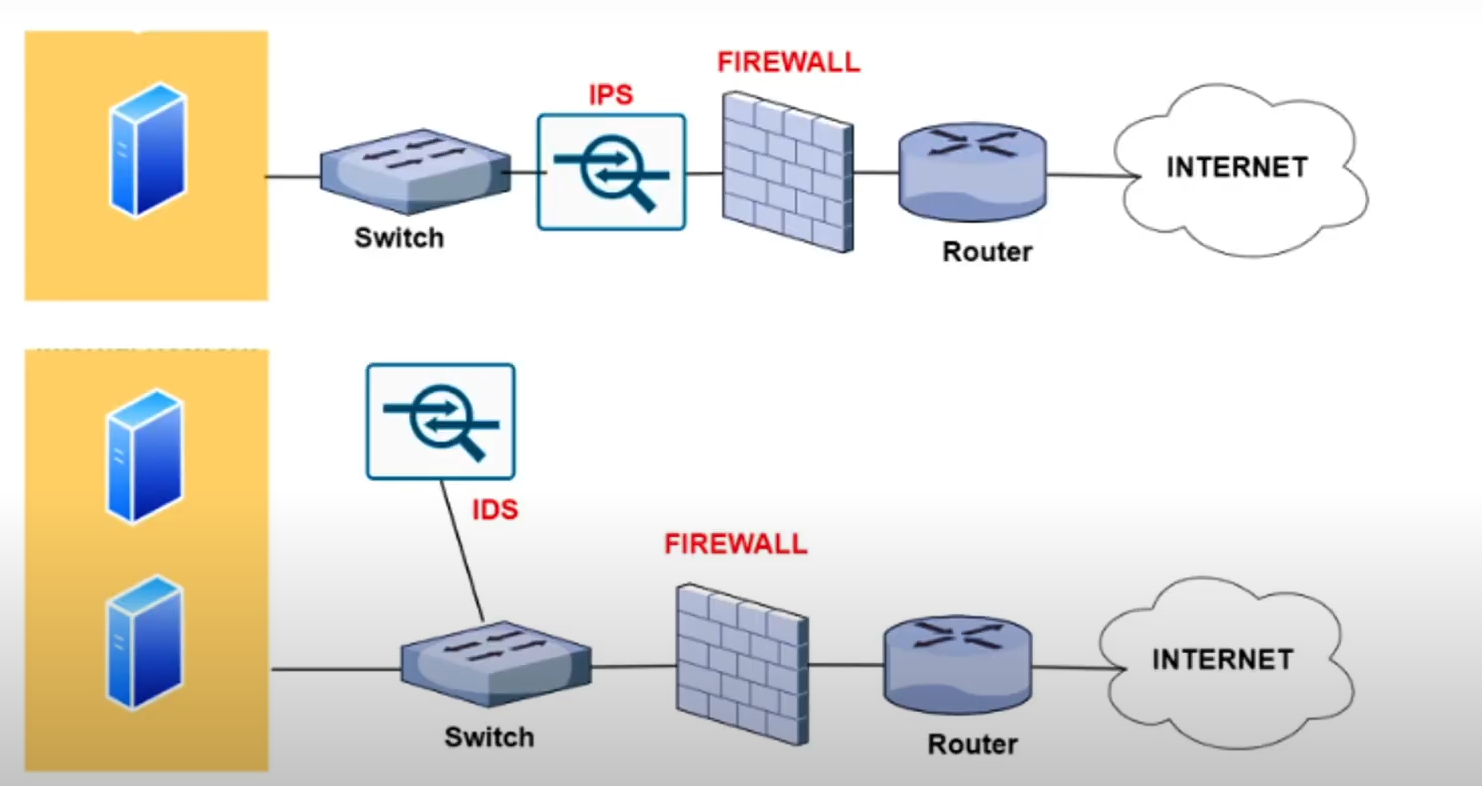
snort IDS network implementation:
Lab environment:
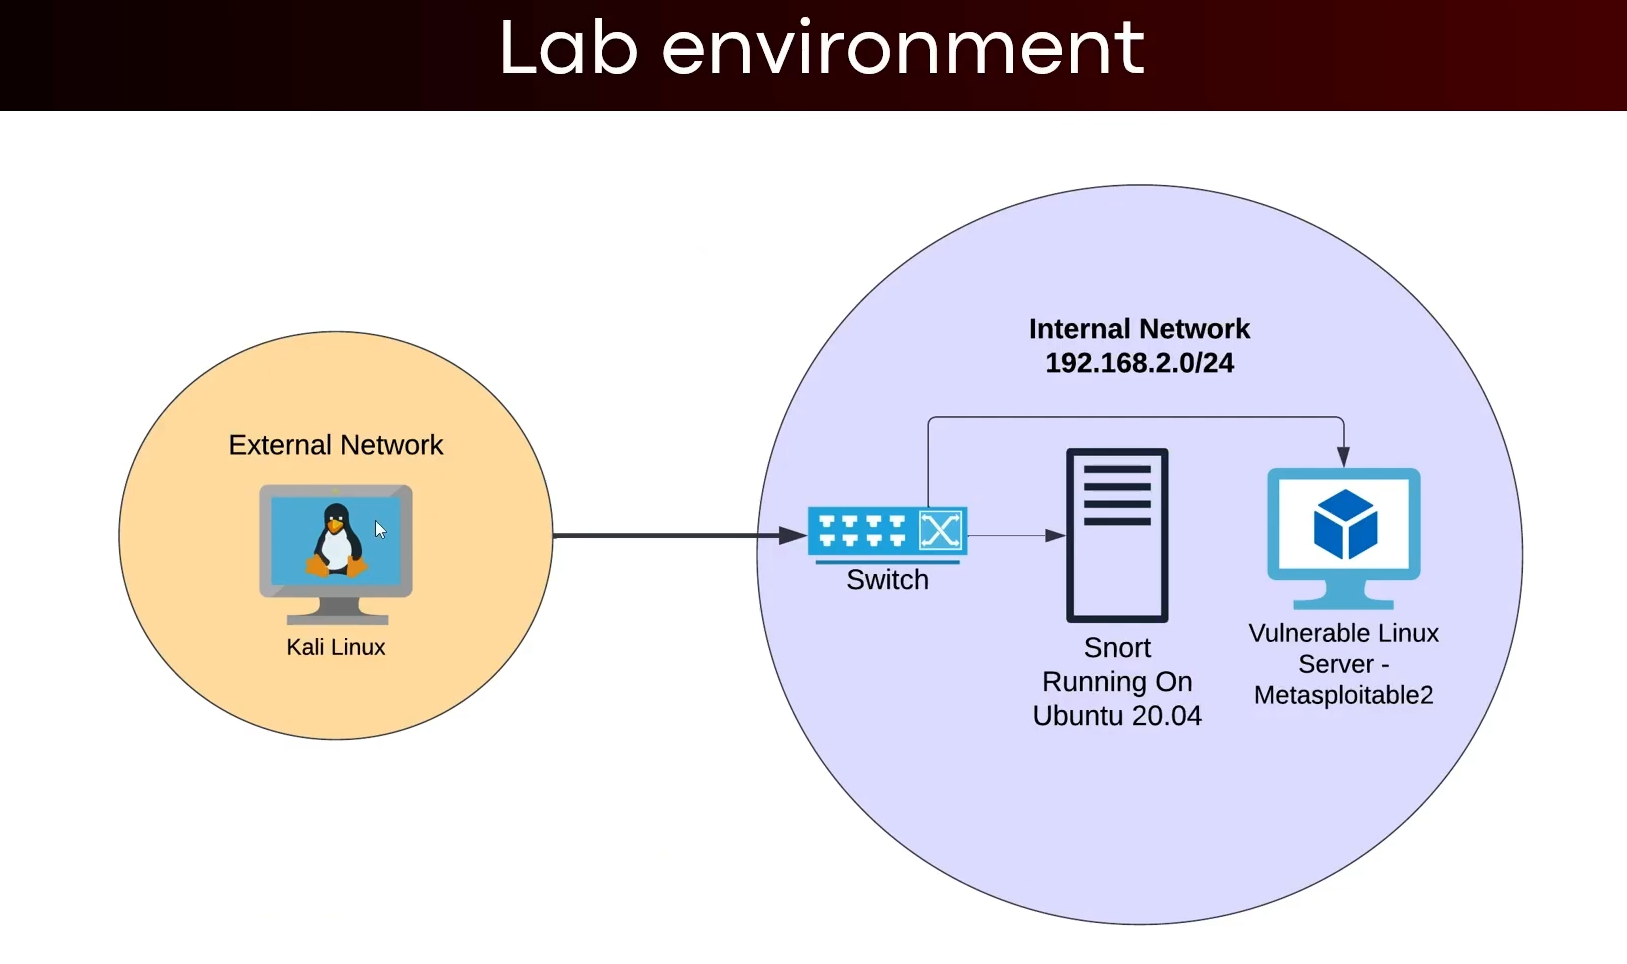
- we are not going to use this lab env just for the sake of simplicity of this excersise.
Installing snort on ubuntu 20.04 LTS :
- Before installing make sure
promiscmode is on. While installing you will be prompted with to provide theinterfacename andsubnet range
sudo apt-get install snort -y
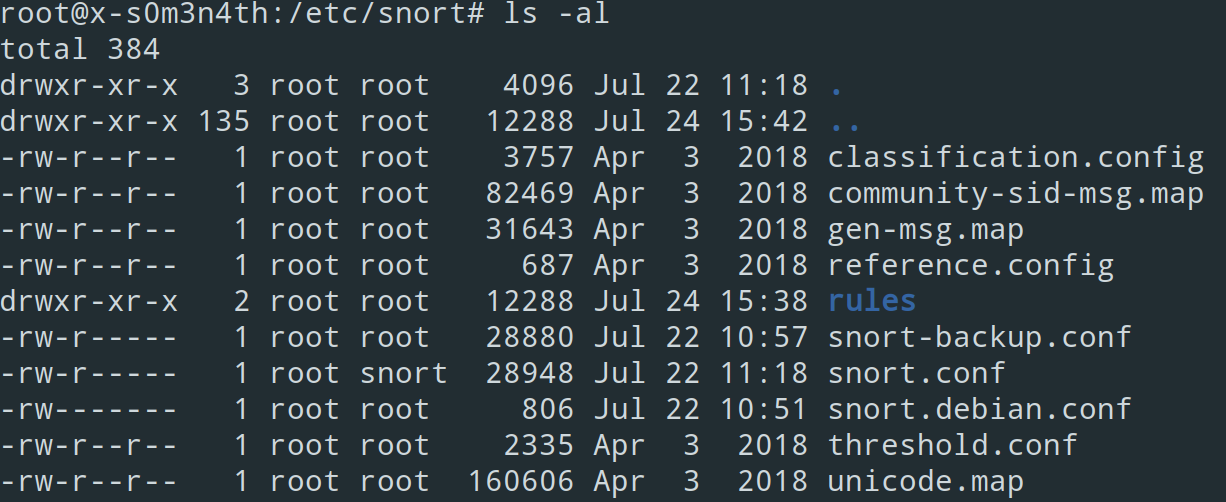
cd /etc/snort # The snort config files are sotred there only
- Now we need to make a backup of the snort config files -> to copy the file we need to have elevated privileges.
cp snort.conf snort-backup.conf
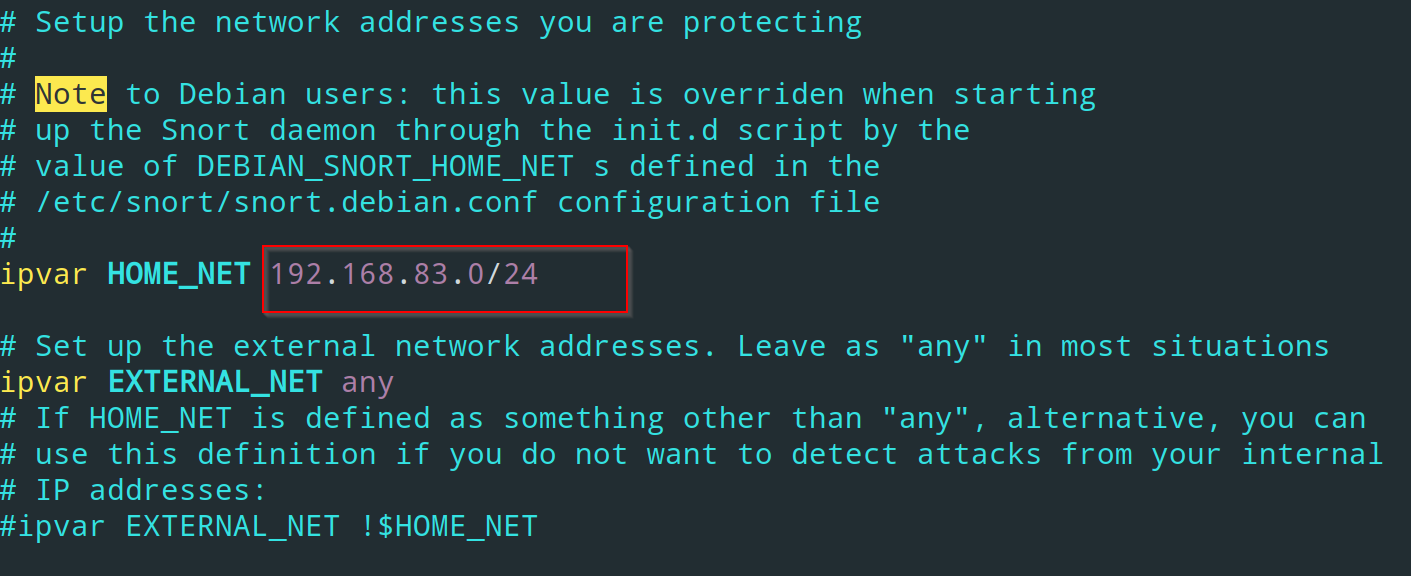
- We are going to make most of the changes inside the
snort.conf, the first thing we need to do is to setup the subnet-range that will be used by snort ->
vim snort.conf
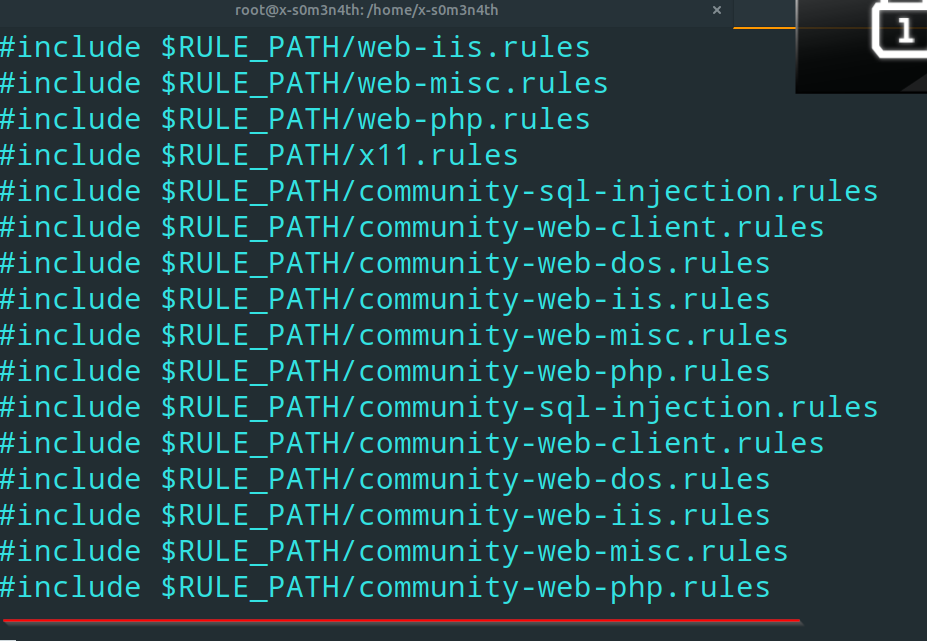
- Now we need to disable all the community rules provided inside the config files as we are going to make our own rules. Comment down all the community rules.
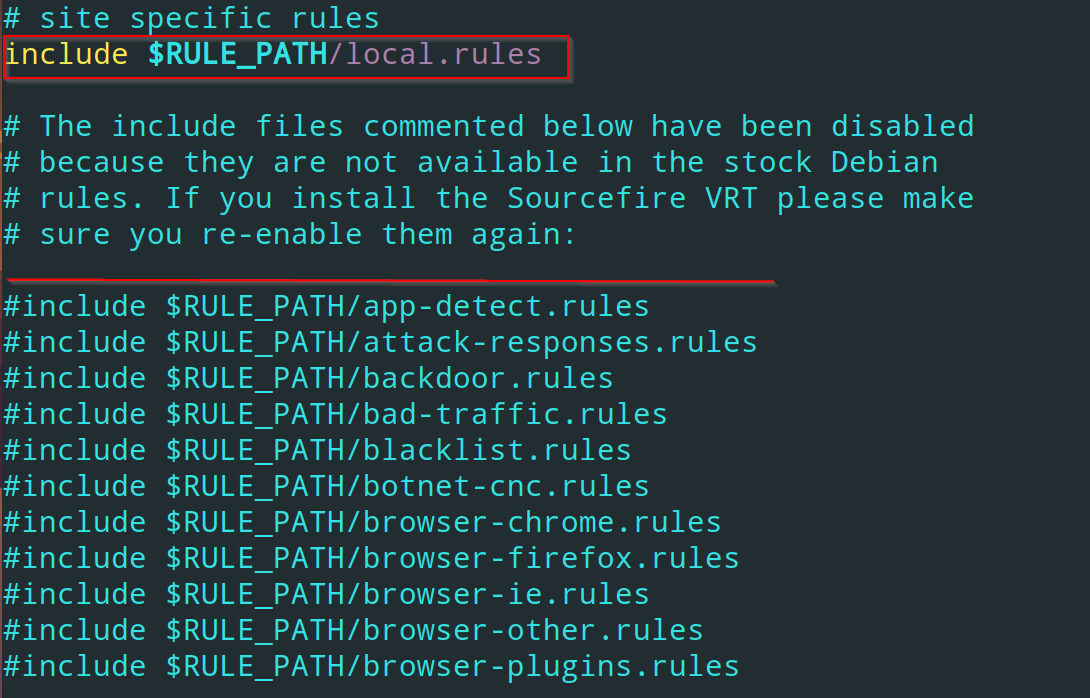
- Except the local rules file, comment everything below it, till this line ->
- After that we will set up our own rules. Come inside the
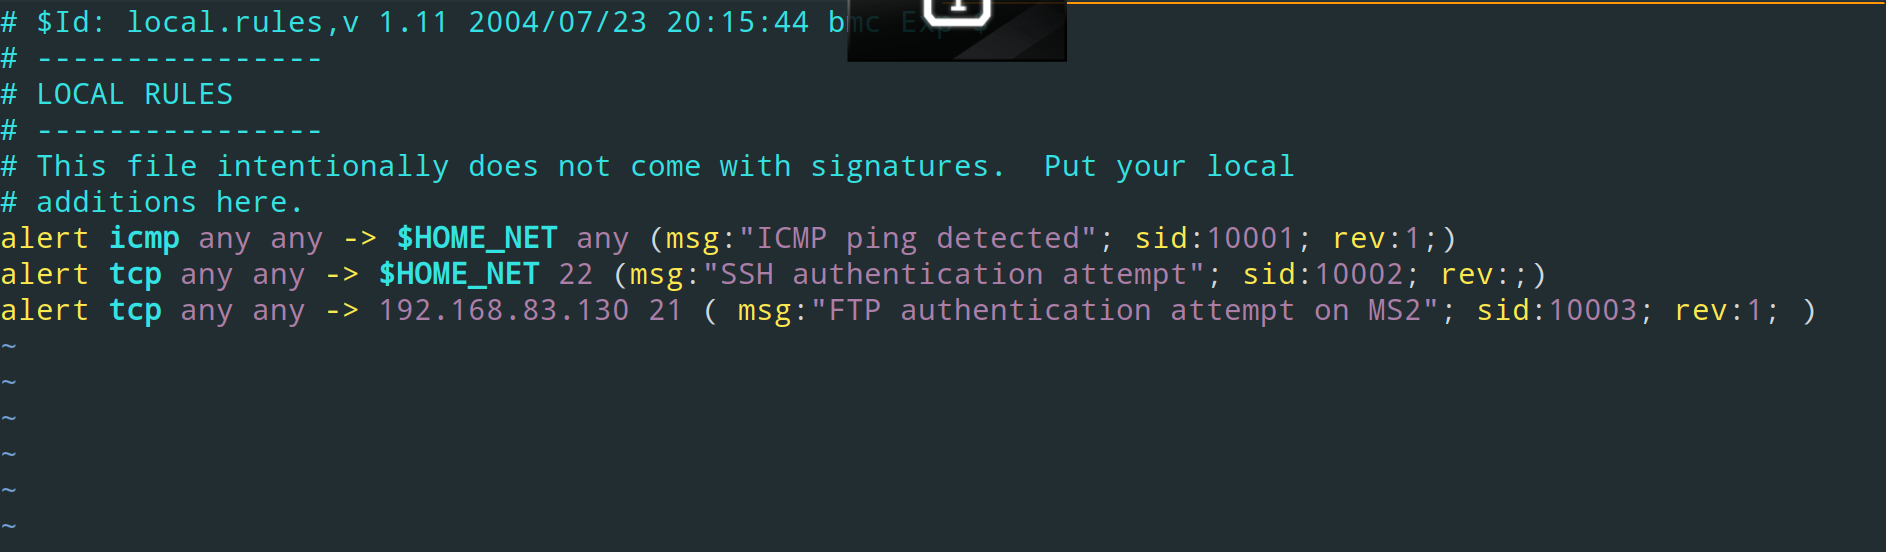
rulesfolder, there will be a file namedlocal.rules->
vim /rules/local.rules
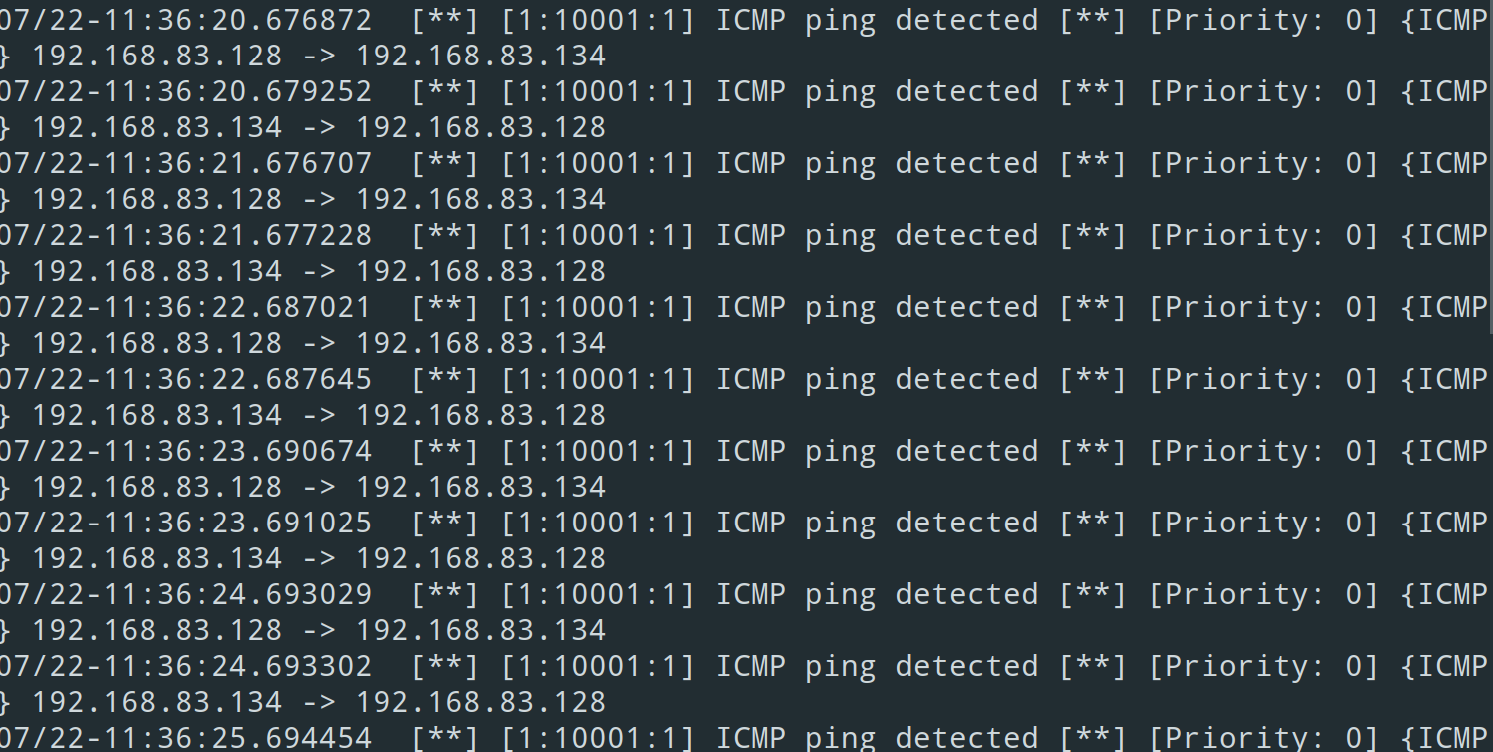
- I have made a first rule for detecting
ICMPpackets inside our network ->
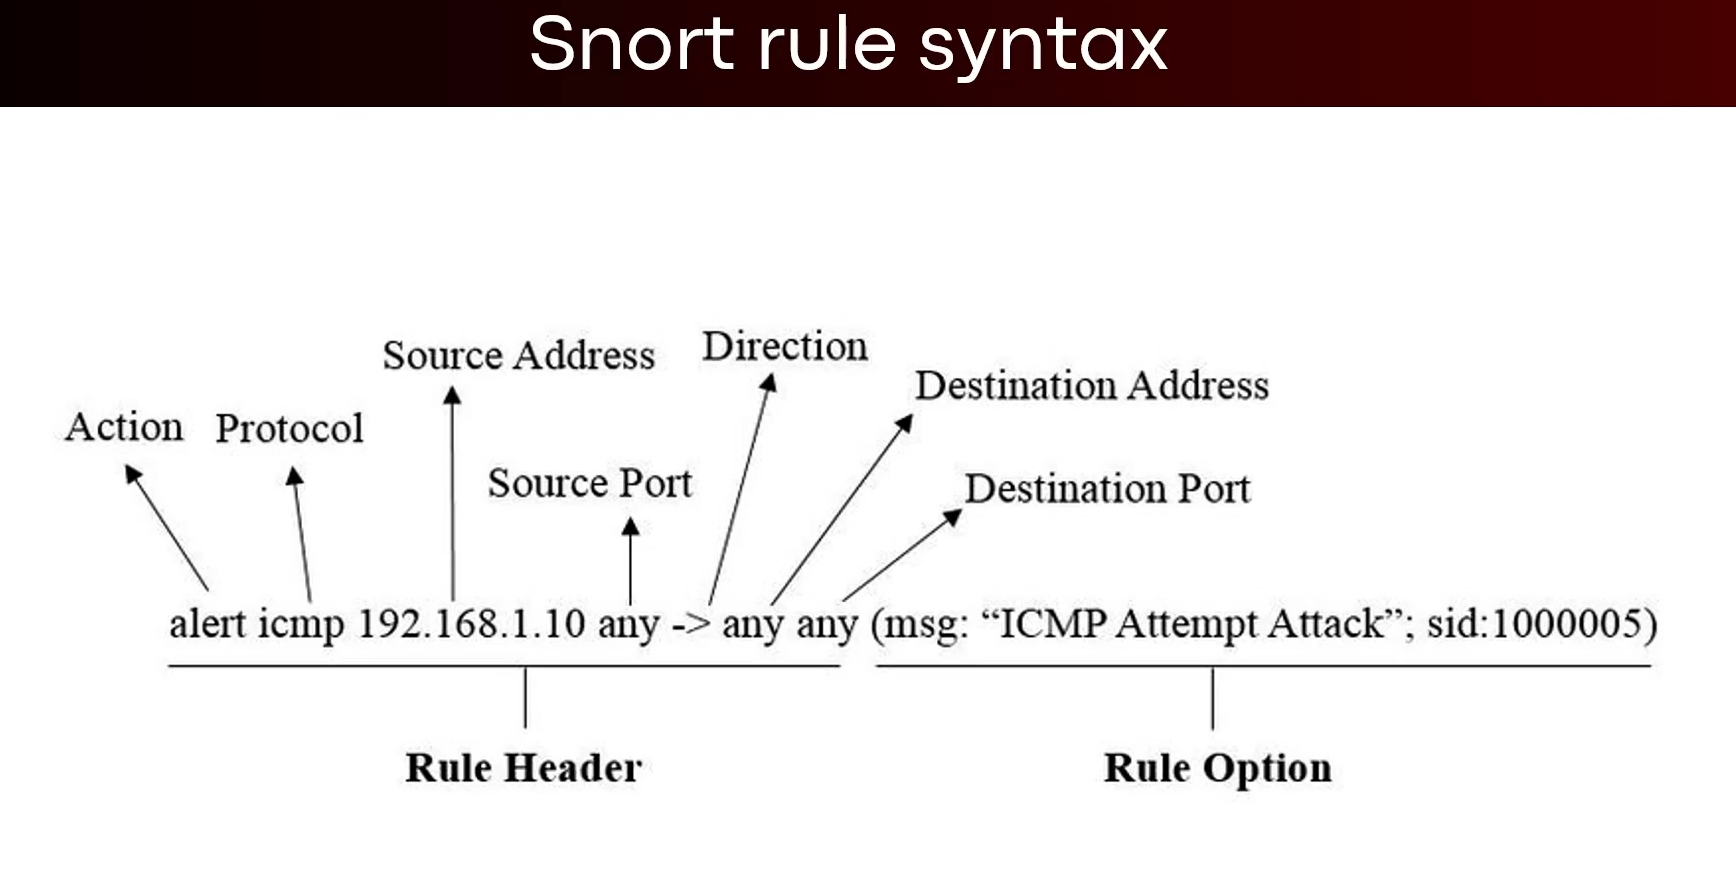
- Breakdown of the command ->
alert-> It is used for sending an alert when ICMP packets will get detected.icmp-> protocol name, also ping sweeps essentially utilizes ICMP requests.any-> The first ‘any’ is to detect incoming ICMP request from any external network.any-> second ‘any’ is to detect request coming from any port.$HOME_NET-> This means any ICMP ping is coming to our home network, which has been configured inside thesnort.conffile. Remember the subnet range.any-> Here we usually specify the port number, aspingdoes not utilize any specific port that’s why we are setting it as ‘any’ port.- After this we need to specify an alert message ->
(msg: "YOUR MESSAGE" sid-> signature id, provide any unique valuerev-> Revisions for specified rules.
- Now we need to run snort ->
snort -q -l /var/log/snort/ -i ens33 -A console -c /etc/snort/snort.conf
- Then ping from any device to any other device within your network subnet, it will capture those pings and give us alerts.
- Now i will setup another rule for ssh auth ->
vim /etc/snort/rules/local.rules
- Rule ->

- In this scenario i am using a vulnerable machine
metasploitable2 - Now start snort again with the same command.
- Then i will ssh from my kali machine to ‘metasploitable2’
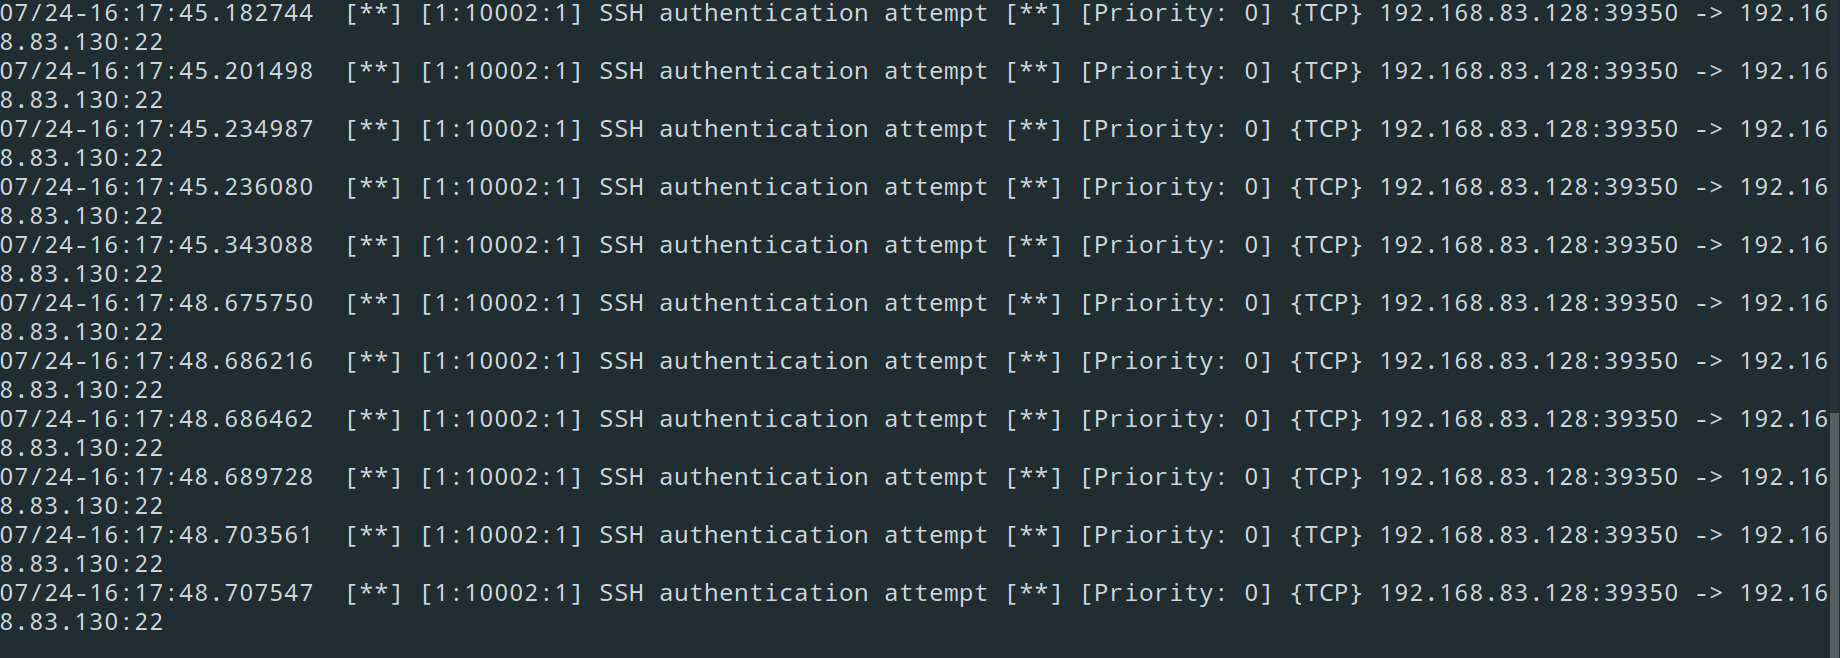 -> And everything is detected.
SNORPY tool:
- Making of an
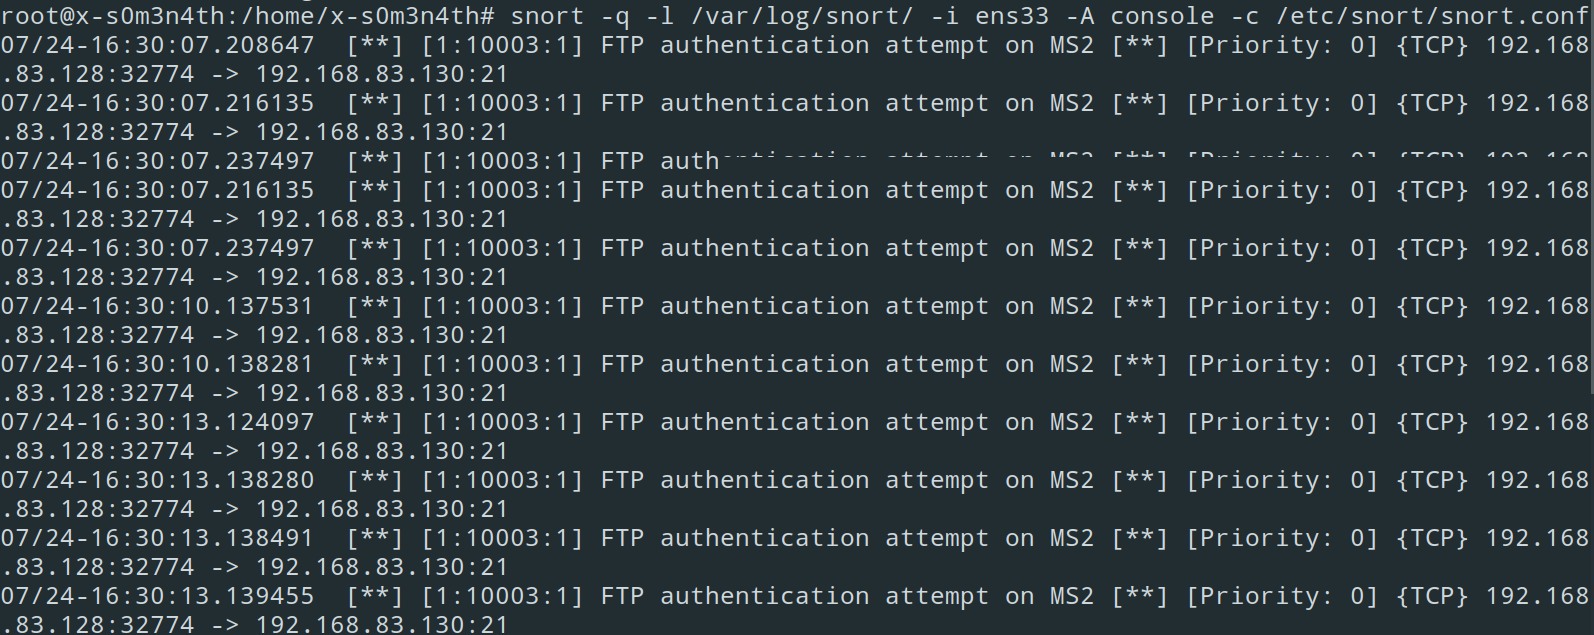
ftpalert message usingsnorpytool specifically for traffic coming inside themetasploitable2machine ->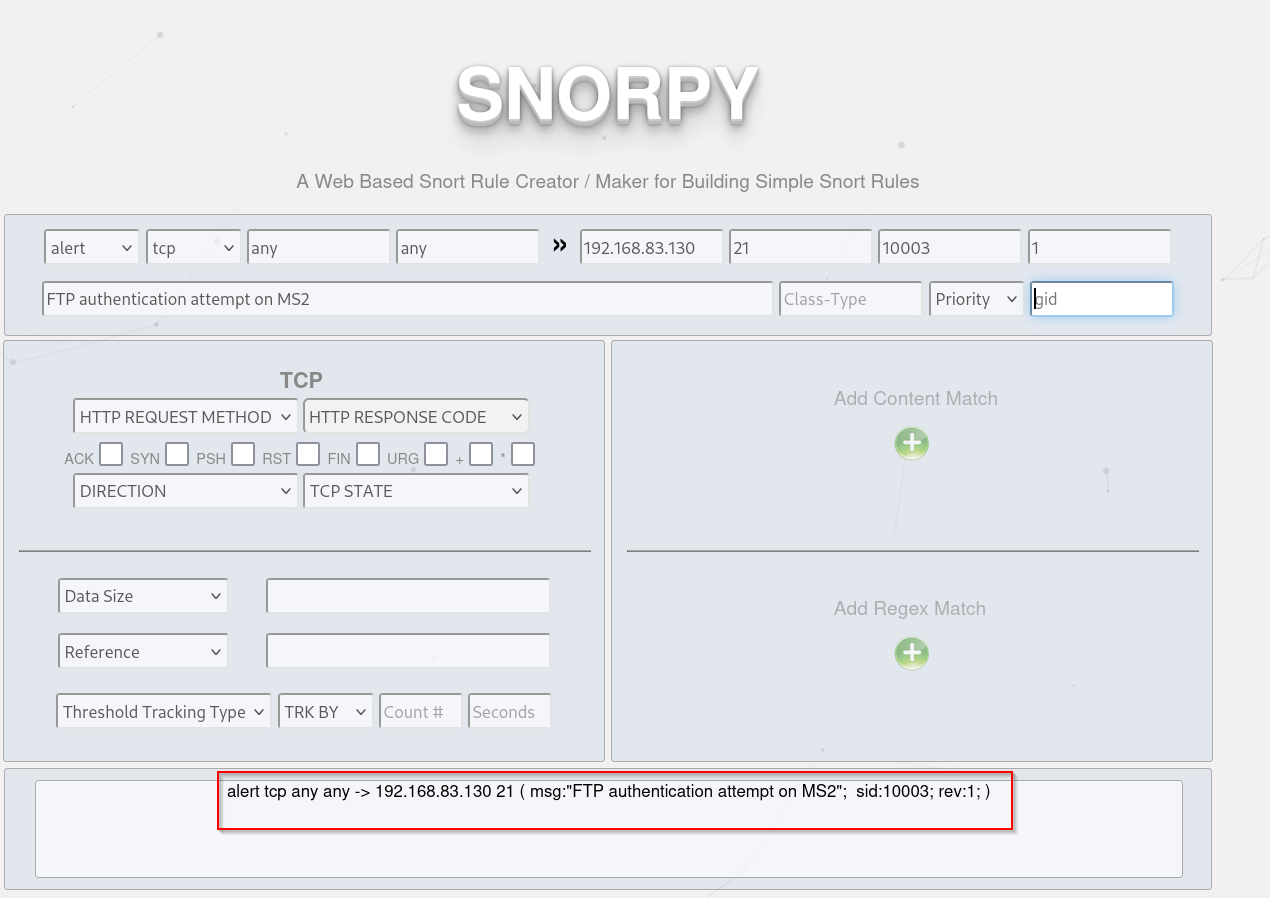
- Adjust the rules and Copy paste it inside the local.rules file.
- I ftp’ed inside the vulnerable machine and snort detected it->
Community rules ->
- If you want to download the snort community rules ->
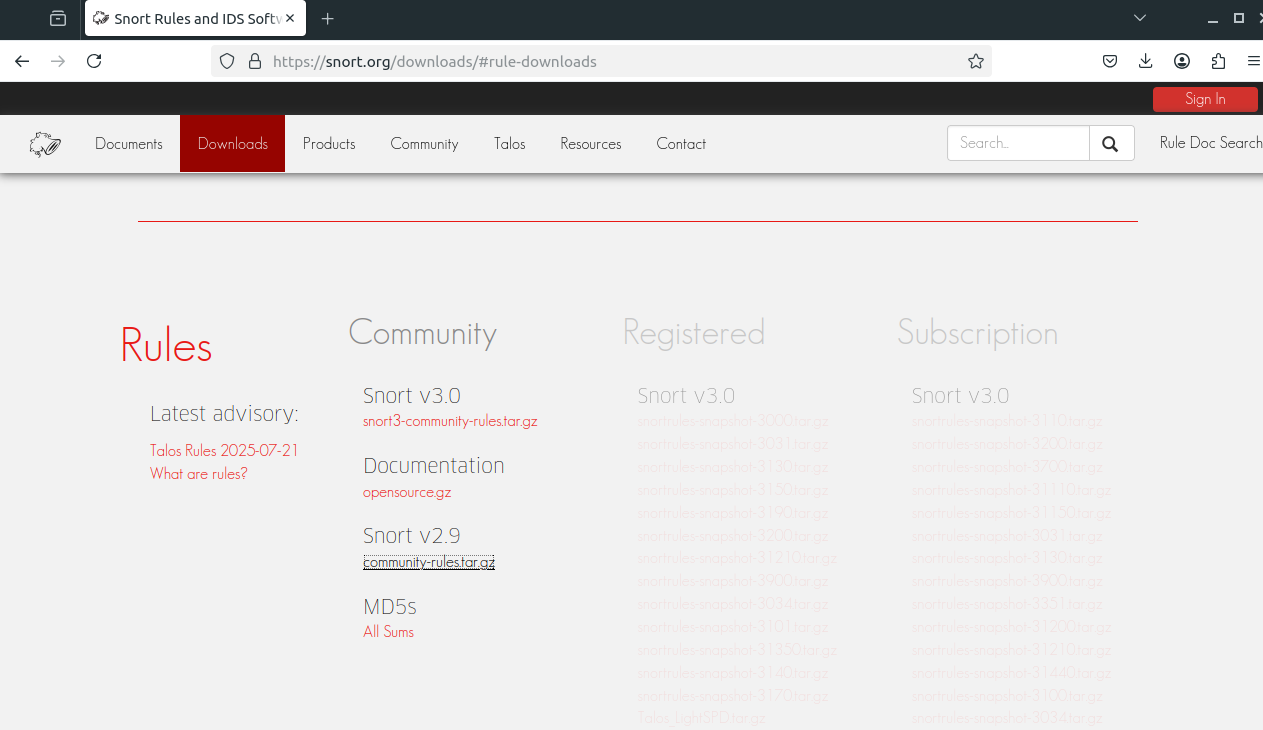
- Extract the rules, and you can use the community rules by copying pasting them directly inside your
snort.conf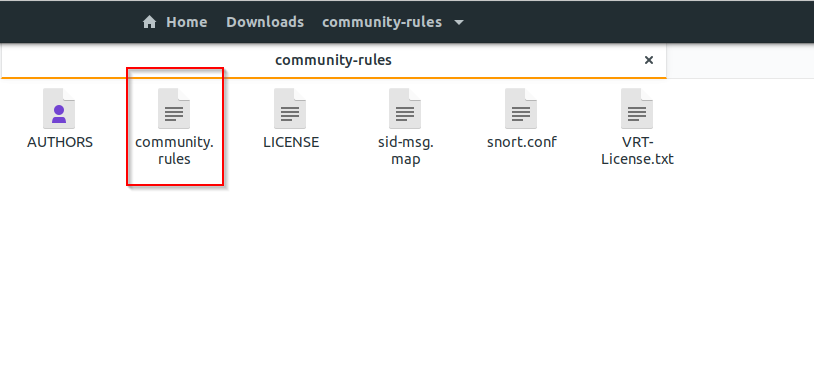
- snort rule for
Eternal blueexploit ->
- If you want to store your logs into an alert file, don’t want to be shown in the screen then use this option ->
snort -q -l /var/log/snort/ -i ens33 -A fast -c /etc/snort/snort.conf
- This will store the logs into
/vat/log/alertfile, and it won’t show the output over to the display.
Tip
To edit bulk lines in vim use this format :563,695s/^/#/ ‘:starting_line,last_line{s}/^/character_you_want_to_add{#}/’